


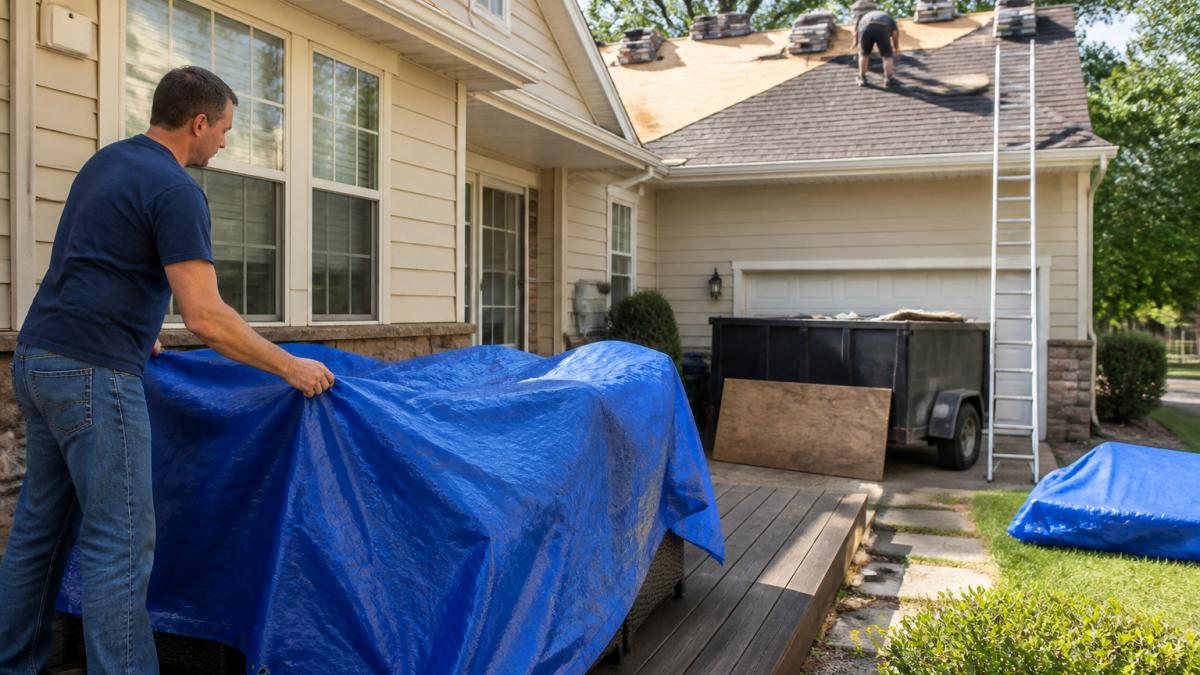

Table of Contents
- Clear Your Driveway and Establish a Work Zone
- Protect Your Landscaping During Roof Replacement
- Secure Indoor Valuables and Prepare Your Attic
- How Long Does a Roof Replacement Take: Timeline and Scheduling
- Manage Pets, Children, and Interior Vibration
- Roof Replacement Insurance Claim Process and Documentation
- Communicate with Contractors and Verify Post-Replacement Work
- Frequently Asked Questions
Last Updated: October 3, 2026
Clear Your Driveway and Establish a Work Zone
How to prepare your home for roof replacement starts with clearing the path for contractors and their equipment. Remove all vehicles from your driveway at least one day before work begins.
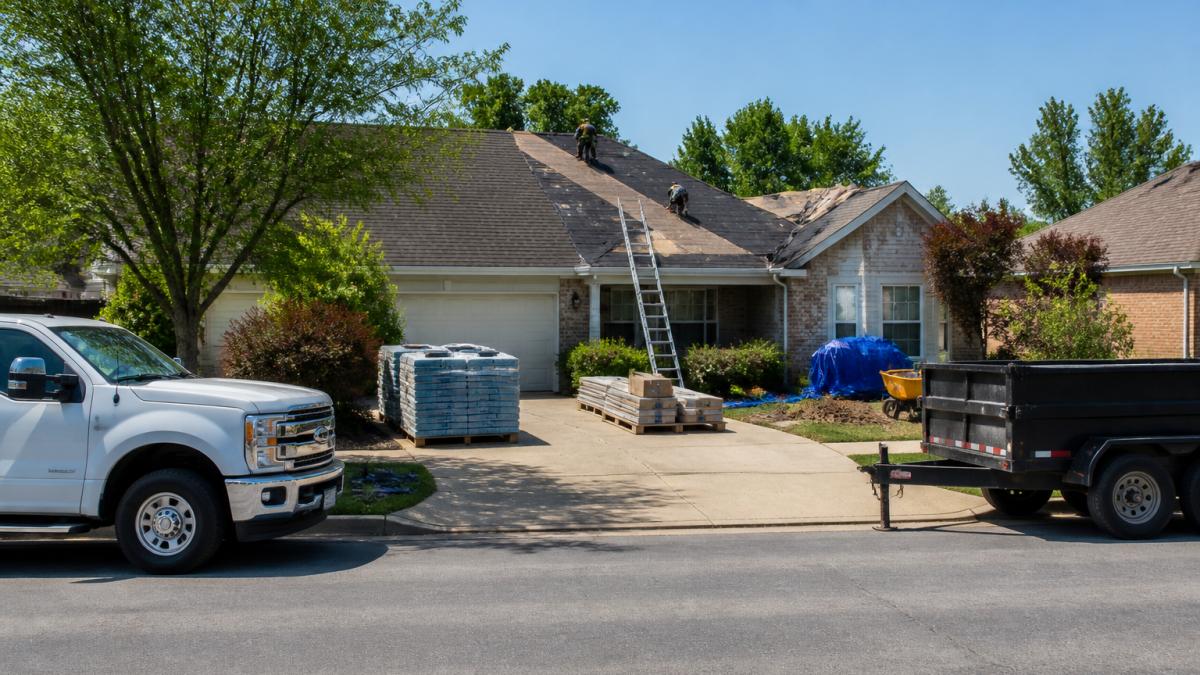
Clear garden tools, toys, bikes, and lawn furniture away from the house. Contractors need a 10-15 foot clearance zone around the perimeter to prevent damage to your belongings and maintain work efficiency.
Mark off the work zone with caution tape or cones if you have young children or pets. Let neighbors know the driveway will be blocked.
Place a tarp or drop cloth under the work zone to catch debris. This makes cleanup easier and protects landscaping underneath.
Protect Your Landscaping During Roof Replacement
Protect landscaping by covering delicate plants with plywood sheets or heavy tarps secured with stakes, as shingles, nails, and debris will fall during installation.
For larger shrubs, create a protective frame using PVC pipe or wood to prevent falling debris from crushing branches.
If you have sensitive plantings near downspouts, direct temporary drainage away with a hose or gutter extension during the project.
After work completes, inspect landscaping carefully and remove tarps slowly to check for hidden damage. A thorough debris sweep prevents equipment damage and injury.
Fallen roofing nails can puncture tires and injure bare feet. Do not let children or pets in the work zone until cleanup is verified complete.
Secure Indoor Valuables and Prepare Your Attic
Close and lock all windows and doors before the crew arrives to protect against theft and accidental damage.
Move breakable items away from interior walls where vibration occurs. Pack away anything fragile from shelves and mantels in the upper floors, as roof replacement generates vibration that can rattle dishes and shift ceiling fixtures.
Prepare your attic for inspection by clearing pathways and removing stored items blocking access, as roofers may need to check for structural damage, water stains, or insulation issues.
Document existing interior conditions with photos before work starts, photographing cracks, water stains, and loose fixtures to help resolve disputes about pre-existing versus new damage.
How Long Does a Roof Replacement Take: Timeline and Scheduling
Most residential roof replacements finish in 2-5 days, depending on roof size, weather, and complexity.
Schedule the project during dry weather, as rain delays work and creates safety hazards.
Plan for noise and activity during daylight hours, typically 7 AM to 5 PM. If you work from home, schedule the project when you can be elsewhere or have flexible hours.
Communicate your schedule needs upfront so the contractor can build flexibility into timelines when possible.
Most roof replacements finish in 2-5 days. Schedule during dry weather and plan your week around daytime work noise.
Manage Pets, Children, and Interior Vibration
Managing pets and children during roof replacement keeps everyone safe. Roof replacement generates significant vibration from pneumatic nail guns that can loosen ceiling fixtures, crack drywall joints, and dislodge items from shelves, especially on upper floors directly beneath the work zone.
Preparing for Vibration Before Work Begins
Inspect and secure ceiling fixtures at least one day before the crew arrives. Check ceiling fans, light fixtures, crown molding, and recessed lighting for loose fasteners and tighten all connections.
Remove or secure items on high shelves, mantels, and wall-mounted shelving in bedrooms and upper-floor rooms. Pack away decorative items, framed photos, and collectibles, or use museum putty or non-slip shelf liner to anchor them in place.
Close interior doors on upper floors to contain vibration and noise. If you have a second-story bedroom directly above the roof work, temporarily move valuables and delicate items to a lower floor.
Managing Pets and Children During Installation
Pets are highly sensitive to roof work noise and vibration. If your pet shows signs of anxiety, boarding during the 2-5 day installation period is recommended. If boarding is not feasible, create a quiet interior space, ideally a basement or interior room with no windows overlooking the roof, and provide familiar toys, water, and a comfortable bed.
Keep children indoors and away from windows with a view of the roof or work area. If you work from home, plan activities in a lower-floor room away from the main work zone. For families with young children, schedule the project during school hours or arrange childcare elsewhere during installation.
Post-Installation Vibration Inspection
After the crew finishes each day, do a quick walk-through of upper-floor rooms to check for any visible damage. Look for new cracks in drywall, especially in corners where drywall sheets meet, or around ceiling fixtures. Small hairline cracks are common and often cosmetic, but document them with photos dated and timestamped.
Check ceiling fans and light fixtures for movement or looseness. Gently try to wiggle them to ensure they’re still secure. Tighten any fasteners that have loosened due to vibration. This prevents fixtures from becoming a safety hazard later.
Place a glass of water on a shelf in an upper-floor room before work begins. If the water spills or vibrates significantly, it signals that vibration is strong enough to affect loose items, a good reminder to double-check all secured items and fixtures.
Roof Replacement Insurance Claim Process and Documentation
The roof replacement insurance claim process starts before work begins. Review your homeowners insurance policy to understand coverage limits and deductibles. Most policies cover roof damage from storms, hail, or wind damage, but not wear and tear (How Your Roof Influences Your Home and Business Insurance).
Document damage with photos and video before repairs start. Capture wide shots and close-ups showing the extent of damage. Include date stamps on photos. Insurance adjusters use this documentation to approve claims.
Contact your insurance company immediately after damage occurs. File a claim within the timeframe specified in your policy, typically 30-60 days. Provide the photos and documentation. The insurer will assign an adjuster to inspect the damage.
Rescue Roofing assists with the insurance claim process. We communicate directly with adjusters and help navigate coverage questions. This support simplifies the claim.
Keep all documentation organized. Save the repair estimate, insurance correspondence, and contractor invoices. These records support the claim and help resolve disputes. After the project completes, keep the warranty documentation and proof of payment for your records.
Request an independent roof inspection from your contractor before filing a claim. This identifies all damage and strengthens your claim documentation.
Communicate with Contractors and Verify Post-Replacement Work
Communicating with contractors prevents misunderstandings and ensures quality work. Get everything in writing in a detailed contract that includes the scope of work, materials used, timeline, total cost, warranty terms, and what happens if hidden damage is discovered during installation.
Day-One Contractor Checklist
Assign a single point of contact to be present during the first morning of work. Before the crew begins, ask the lead contractor these specific questions:
- Where will the dumpster or debris bin be positioned? Confirm it won’t block your driveway or damage your landscaping.
- What time will work start and end each day? Confirm the daily schedule so you can plan around noise and vibration.
- Where will the crew park? Ensure vehicles won’t block neighbors’ driveways or create safety hazards.
- Do you need access to interior power outlets or water? Identify which outlets or hose connections the crew will use.
- What is your cleanup protocol at the end of each day? Ask if they sweep the yard daily or only at project completion.
- How do you handle unexpected structural damage? Clarify the process for discovering roof rot, damaged rafters, or structural issues that require additional repair.
- What is included in the warranty? Ask about coverage for workmanship, materials, and how long the warranty lasts (typically 5-10 years for workmanship, 20-30 years for shingles).
- Who is responsible for permits and inspections? Confirm whether the contractor pulls permits and schedules final inspections with the local building department.
Having these answers documented prevents confusion and keeps the project moving smoothly.
The Hidden Damage Clause
Most roofing contracts include language about hidden damage discovered during installation. This typically means that if the crew removes the old roof and finds structural damage, such as rotted roof decking, damaged rafters, water-damaged plywood, or compromised flashing, the contractor will notify you and provide a separate estimate for repairs.
Before signing the contract, ask the contractor to explain their process for handling hidden damage. Request that they provide a written estimate for any additional work before proceeding. This protects you from surprise costs and gives you time to decide whether to proceed or seek a second opinion.
Post-Installation Verification and Debris Sweep
Before making final payment, perform a thorough inspection of the completed work. Walk the roof with the contractor (if safe and permitted by your insurance) or view it from the ground with binoculars. Check that:
- All old roofing material has been removed and no shingles or underlayment remain.
- New shingles are aligned properly with no gaps, curling, or misalignment.
- Flashing around chimneys, vents, and skylights is sealed and caulked properly.
- Gutters are clean and properly attached with no sagging or separation.
- No nail pops or exposed fasteners are visible on the roof surface.
- Soffit and fascia are clean and undamaged.
Inspect the ground and landscaping for debris. The contractor should remove all nails, shingle scraps, tar paper, and metal debris. Fallen roofing nails are a major hazard, they can puncture tires, injure bare feet, and damage lawn equipment.
Check gutters and downspouts for debris and ensure water flows freely. Inspect the attic or interior ceiling for any new water stains, dust, or debris that may have entered during work. If the crew accessed your attic, verify that insulation is intact and pathways are clear of tools or materials left behind.
Final Payment Protocol
Do not make final payment until you have completed the inspection and verified cleanup. Provide the contractor with a written list of any items that need attention, loose shingles, incomplete caulking, debris still present, or damage to landscaping. Give them a reasonable timeframe to address these items.
Request a copy of the warranty documentation, proof of payment, and any permits or inspection certificates from the local building department. Keep these records in a safe place for your home’s file. If the contractor offers a roof inspection report or photos of the completed work, request copies for your records.
Do not make final payment until you have personally inspected the work, verified cleanup is complete, and confirmed that all contract items have been addressed. This is your leverage to ensure quality work and protects you from paying for incomplete or substandard installation.
Use a day-one checklist to clarify expectations, understand the hidden damage clause, and establish cleanup protocols. Perform a thorough post-installation inspection and debris sweep before final payment.
Frequently Asked Questions
How do I protect my landscaping during a roof replacement?
Cover shrubs and flower beds with tarps or plywood before the crew arrives. Move potted plants away from the work zone and driveway. Trim back tree branches that hang over the roof to prevent damage from falling debris. Brief your contractor on which plants matter most to you, and ask them to position the dumpster and staging area away from your landscaping. Most crews are experienced at minimizing damage when homeowners communicate these concerns upfront.
How long does a typical roof replacement take?
Most residential roof replacements take 1 to 3 days, depending on roof size, weather, and complexity. A small single-story home might finish in one day, while a larger two-story house or a roof with multiple valleys and skylights could take 2 to 3 days. Weather delays, unexpected structural repairs, or permit requirements can extend the timeline. Your contractor should provide a realistic schedule during the initial inspection so you can plan accordingly.
Do I need to move my car before roofers arrive?
Yes. Park your vehicles away from the work zone, typically at least 20 feet from the house. This prevents damage from falling debris, gives contractors safe access to the driveway for equipment and dumpster placement, and ensures emergency vehicles can reach your property if needed. Ask your contractor specifically where they’ll stage materials and where debris will land so you can position your vehicles in a safe spot.
What should I do about my homeowners insurance before a roof replacement?
Review your homeowners insurance policy to understand what it covers for roof damage and replacement. If you’re filing a claim, document all damage with photos and keep records of repair estimates. Contact your insurance company before scheduling the replacement if the work is claim-related. Your contractor can help coordinate with your adjuster. Some policies cover the full replacement cost, while others apply depreciation, clarify this before work begins.