



Table of Contents
- Understanding Your Roof Insurance Policy Coverage
- How to Document Roof Damage for Insurance
- When to Contact Your Insurance Company After Roof Damage
- Tips for Meeting with Insurance Adjusters
- How Long Does a Roof Insurance Claim Take
- Handling Claim Denial and Supplemental Claims
- Working with a Roofing Contractor Throughout the Claim Process
- Conclusion
Last Updated: August 22, 2026
Understanding Your Roof Insurance Policy Coverage
Your insurance policy is a contract with specific terms determining what’s covered. Most homeowners discover coverage gaps only after damage occurs. Before filing a claim, understand the difference between two critical valuations: Actual Cash Value and Replacement Cost Value. These directly determine your claim payout.
Actual Cash Value vs. Replacement Cost Value
Actual Cash Value (ACV) is what your roof is worth today, accounting for depreciation. A 15-year-old roof with a 25-year lifespan receives payment based on remaining useful life, minus depreciation.
Replacement Cost Value (RCV) is the full cost to replace your roof with new materials of similar kind and quality, with no depreciation applied.
The difference can be thousands of dollars. A $12,000 roof might yield $7,000 under ACV but the full $12,000 under RCV. Review your policy documents now for "replacement cost" or "actual cash value" language. Many homeowners don’t realize they have ACV coverage until filing a claim. At Rescue Roofing, we help homeowners understand this distinction before damage happens.
Policy Limits and Deductibles
Your policy limit is the maximum payout, typically 10-25% of your home’s insured value. A $300,000 home with a 15% roof limit has a $45,000 maximum payout.
Your deductible is what you pay before coverage kicks in. Common deductibles are $500, $1,000, or $2,500. Some policies use percentage-based deductibles (1-5% of insured value). Storm damage often triggers higher deductibles than standard claims.
If roof damage totals $8,000 with a $2,500 deductible, you pay $2,500 and insurance covers $5,500. Damage exceeding your policy limit is your responsibility. Many policies also exclude wear and tear or damage from neglect. Read your exclusions carefully, they define what’s NOT covered.
How to Document Roof Damage for Insurance
Documentation is your evidence. Without it, you have only your word. With thorough documentation, you have proof that adjusters and contractors rely on.
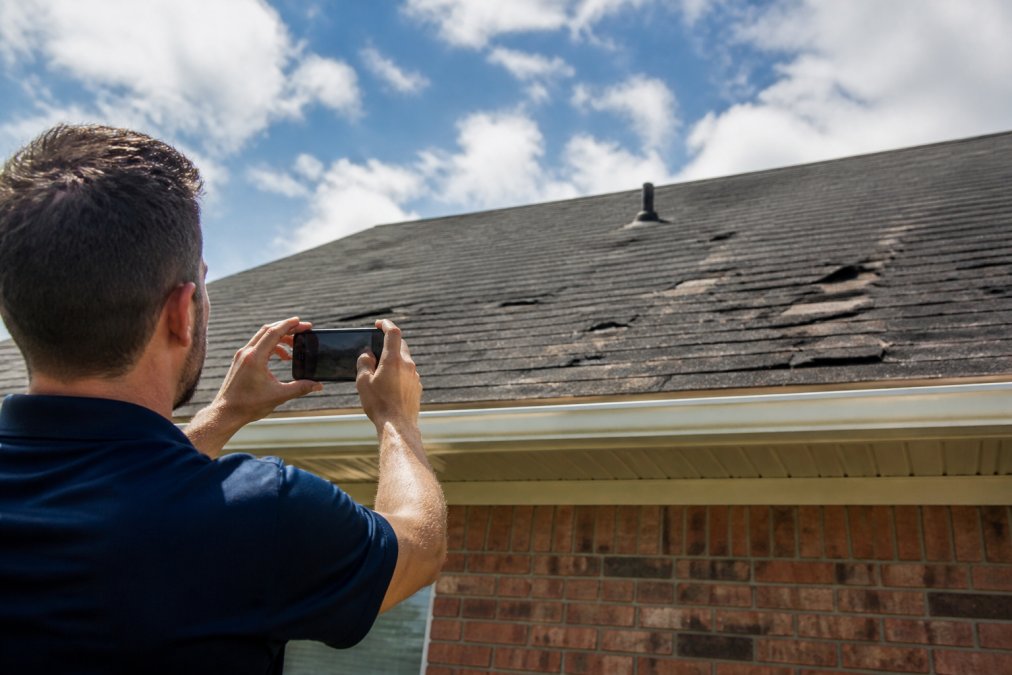
Start documenting immediately after damage occurs. Take photos and video before anything is touched or cleaned up. Document from multiple angles if safe to do so.
Photographic Evidence and Written Records
Photographs should be specific, not artistic. Zoom in on individual damaged shingles. Include reference objects, a ruler, coin, or your hand, to show scale. Photograph surrounding undamaged roof to show contrast. Take photos in daylight, capturing both wide shots showing damage location and close-ups showing detail.
Write down what you see: date, time, weather conditions, damage cause if known, and damage type (hail, wind, missing shingles, leaks, structural issues). Note secondary damage like water stains or damaged gutters. Store photos and documentation securely in cloud storage to prevent loss.
Contractor Estimates and Proof of Loss
A professional estimate includes itemized labor, materials, overhead, and specific damage details. Get at least one professional estimate. Rescue Roofing provides detailed aerial quotes and ground inspections documenting damage comprehensively. These estimates become evidence if the insurance adjuster’s estimate differs significantly.
Proof of loss is a formal, sworn statement detailing damage, date, and estimated repair cost. It’s a legal document requiring accuracy and thoroughness. Include all damage, not just roof damage, gutters, fascia, siding.
When to Contact Your Insurance Company After Roof Damage
Timing matters. Contact your insurance company within 24-48 hours of discovering damage, or as soon as conditions allow safe inspection. Policies typically require prompt notice of loss. Unreasonable delays can give insurers grounds for denial.
Timing and Initial Claim Filing
When you call, have your policy number ready. Describe the damage briefly and state what caused it (wind, hail, ice, tree damage). The insurer will open a claim file and assign a claim number. Write this down for all future communications.
Ask for an estimated timeline for adjuster contact. Many insurers aim for contact within 5-10 business days, though this varies by region and claim volume.
Mitigation of Damages
Mitigation means taking reasonable steps to prevent further damage. If your roof leaks, minimize water damage through temporary measures like buckets or emergency tarping. Document these efforts with invoices and photos.
However, don’t make permanent repairs before the adjuster inspects the damage. The adjuster needs to see original damage to assess it accurately. Full roof replacement before claim settlement may result in reduced or denied claims.
Tips for Meeting with Insurance Adjusters
The insurance adjuster assesses damage, determines coverage, and recommends payout. The adjuster’s report heavily influences your final settlement. Preparing for this meeting is critical.
Preparing for the Inspection
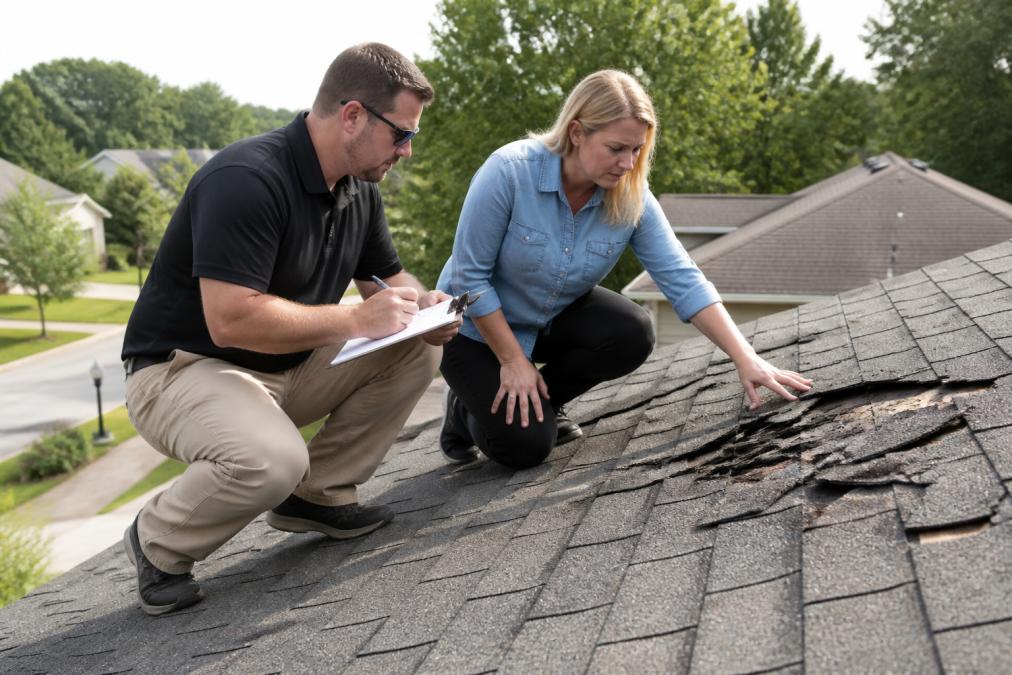
Schedule the inspection when you can be present. You have the right to attend. Being present allows you to point out damage the adjuster might miss.
Before the adjuster arrives, walk your roof or have a contractor walk it with you. Identify all visible damage and make a list. Gather documentation: photos, contractor estimates, proof of loss, policy documents.
Arrange for a contractor to be present if possible. The contractor can explain damage in technical terms and note if the adjuster misses anything. However, check your policy first, some insurers have rules about third parties during inspections.
What to Expect During the Adjuster Report
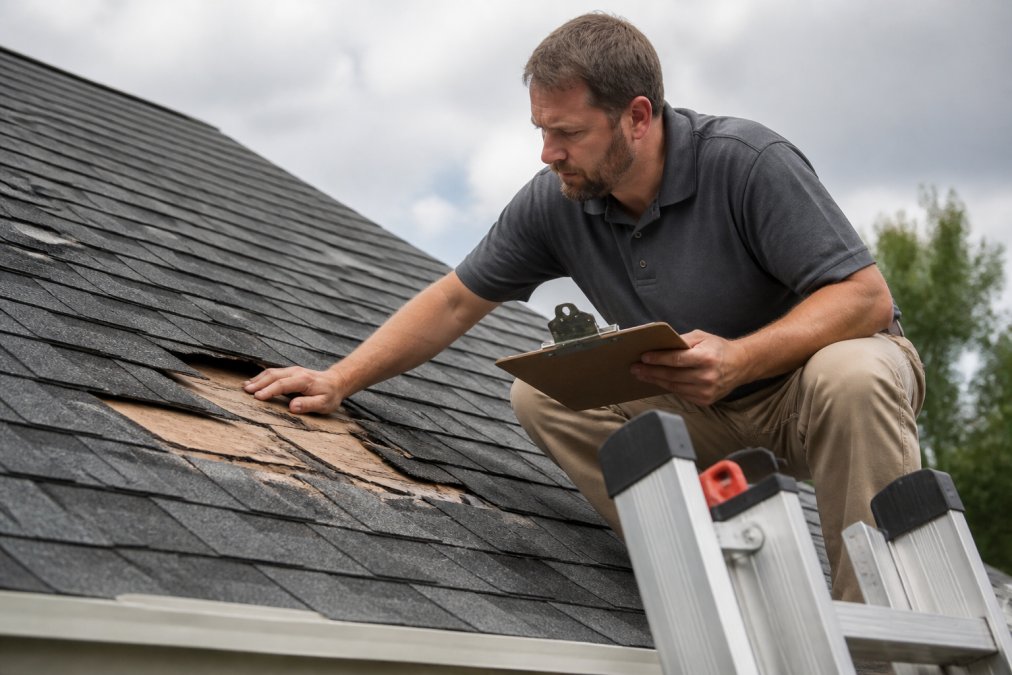
The adjuster will inspect the roof from the ground with binoculars or from the roof itself if safe. They’ll photograph damage, take measurements, and review your documentation. They may ask about roof age, maintenance history, and when damage was discovered.
The adjuster uses a standardized assessment form documenting damage type, location, extent, and estimated repair cost. Ask questions about what damage they’re documenting and why any damage is excluded. This creates a record in their report. reading policy declarations.
The adjuster’s estimate is not final. If it’s significantly lower than contractor estimates, you can dispute it through supplemental claims.
How Long Does a Roof Insurance Claim Take
Most roof insurance claims take 30-90 days from filing to settlement. Timeline depends on claim complexity, weather, adjuster availability, and whether disputes arise.
Timeline from Filing to Settlement Check
- Day 1-2: File claim, receive claim number.
- Day 3-10: Insurer assigns adjuster and schedules inspection.
- Day 10-15: Adjuster inspects and files report.
- Day 15-30: Insurer reviews report and issues initial estimate.
- Day 30-45: You review estimate; request supplement or appeal if needed.
- Day 45-60: Supplemental inspection or appeal process begins.
- Day 60-90: Final settlement reached and check issued.
This timeline assumes no major disputes. Supplemental claims add 2-4 weeks. Weather delays inspection. Slow communication extends the process. Respond promptly to insurer requests to speed resolution.
Handling Claim Denial and Supplemental Claims
Not every roof damage claim is approved as filed. Understanding why denials happen and how to respond is essential.
Common Reasons for Claim Denial
Wear and tear exclusion: The insurer argues damage is due to age, not a covered peril. A 20-year-old roof with deteriorating shingles may be denied if the insurer claims wear and tear, not storm damage. Contractor documentation showing storm-related damage, not age-related, is your best defense.
Lack of maintenance: The policy may exclude damage from lack of maintenance. If your roof has algae growth, debris, or clogged gutters, the insurer might argue proper maintenance would have prevented damage. This is often disputed.
Policy exclusions: Your specific policy may exclude certain damage types like ice dams or tree falls. Review your exclusions. If your damage falls under an exclusion, denial is likely unless you can argue the exclusion doesn’t apply.
Failure to mitigate: If you didn’t take reasonable steps to prevent further damage, the insurer may deny or reduce the claim. This is rare but possible if you ignored a leak and allowed extensive water damage.
Delay in reporting: Waiting too long to report damage may result in denial if you didn’t comply with the policy’s prompt notice requirement.
Filing a Claim Denial Appeal
If your claim is denied, you have the right to appeal. Request a written explanation of the denial. Review the letter carefully and identify the specific reason.
Gather evidence contradicting the denial. If the insurer claims wear and tear, provide contractor documentation showing storm damage. If the insurer claims lack of maintenance, provide evidence of regular maintenance.
Write a formal appeal letter to the insurer’s claims department. Reference your claim number, state the denial reason, explain why it’s incorrect, and provide supporting evidence. Keep the letter professional and factual.
Some states allow appraisal or mediation if you and the insurer can’t agree on claim value. In appraisal, you and the insurer each select an appraiser. The two appraisers select a third. The three appraisers determine the value, and this is binding. Check your policy for appraisal language.
Understanding Supplemental Claims
A supplemental claim is filed when damage is discovered after the initial inspection or when the initial settlement is significantly lower than actual repair cost.
Supplemental claims are common in roof damage cases. Initial inspections sometimes miss damage. Secondary damage to underlying structure, decking, or interior may not be visible until the roof is opened during repairs. Once work begins, additional damage is often discovered.
When additional damage is discovered, document it immediately with photos. Have the contractor document it in writing. File a supplemental claim with the insurer, including new documentation. The insurer will send an adjuster to inspect the additional damage. If covered, it’s added to the settlement.
The insurer may dispute whether additional damage was caused by the original storm or by the repair process. Documentation showing damage existed before repairs began strengthens your case.
Working with a Roofing Contractor Throughout the Claim Process
Your roofing contractor is your advocate throughout the claims process. Choosing the right contractor makes a significant difference in the outcome.
Contractor Advocacy and Communication
A good contractor understands the insurance claim process and how adjusters assess damage. They document damage in ways that support your claim and communicate with the insurer in technical language adjusters understand.
When selecting a contractor, ask about their insurance claims experience. Have they worked with adjusters? Do they understand documentation requirements? Can they provide references from homeowners who’ve filed claims? Rescue Roofing has extensive experience assisting homeowners with roof insurance claims and works with adjusters to ensure fair handling.
Your contractor should communicate directly with the insurer, providing detailed estimates and supplemental documentation if additional damage is discovered. However, understand the contractor’s role: they work for you, not the insurer. Their job is to provide accurate estimates and quality repairs, not pressure the insurer into higher settlements.
Coordinating Repairs with Your Claim Settlement
Once your claim is settled, confirm the settlement amount with the insurer and understand what’s included. If the settlement is lower than the contractor’s estimate, discuss the gap. Will the contractor work with the lower amount? Will you pay the difference? Will they file a supplemental claim if additional damage is discovered?
Discuss payment terms with the contractor upfront. Understand when they need payment and when they expect to complete work.
During repairs, stay in communication with the contractor. If additional damage is discovered, have them document it immediately. Once repairs are complete, request a final invoice and proof of completion for your records.
Navigating roof insurance claims is complex but manageable with proper preparation and professional support. The key is understanding your coverage, documenting damage thoroughly, and working with professionals who understand the process. Rescue Roofing provides comprehensive support from initial inspection and documentation to direct communication with adjusters and coordinating repairs with your settlement. We help ensure your claim is handled fairly and your roof is restored to full integrity.
Insurance Information Institute guide to homeowners insurance
National Association of Insurance Commissioners consumer resources
Federal Emergency Management Agency storm damage documentation guidelines
| Step | Timeline | Key Action |
|---|---|---|
| File claim | Day 1-2 | Contact insurer, provide basic damage information, receive claim number |
| Adjuster inspection | Day 3-15 | Insurer assigns adjuster, schedules roof inspection, adjuster files report |
| Initial estimate | Day 15-30 | Insurer reviews report and issues settlement estimate |
| Review and response | Day 30-45 | Review estimate, request supplement if needed, or appeal if denied |
| Final settlement | Day 45-90 | Reach agreement, receive settlement check, begin repairs |
Document damage immediately after it occurs, before any cleanup or repairs. Take photos from multiple angles, include close-ups showing detail, and write down what you observe. This documentation becomes your strongest evidence in the claim process.
Don’t make permanent repairs before the adjuster inspects the damage. The adjuster needs to see the original damage to assess coverage and value accurately. Temporary measures like tarping are fine; full replacement is not. Repairing before inspection can result in reduced or denied claims.
The difference between Actual Cash Value and Replacement Cost Value can mean thousands of dollars in your claim settlement. Review your policy now to understand which coverage you have, and consider upgrading to Replacement Cost Value if your policy currently includes Actual Cash Value.
Frequently Asked Questions
What evidence do I need to provide for a roof insurance claim?
Gather photographic evidence of all visible damage from multiple angles, including wide shots and close-ups. Document the date and time of the damage. Obtain written estimates from contractors detailing the damage and repair costs. Keep records of any temporary repairs or mitigation efforts you undertake. Create a detailed written account of what happened. Your insurance company will use this documentation along with their adjuster's report to evaluate your claim and determine the claim payout amount.
How long does a roof insurance claim take from filing to settlement?
The timeline varies but typically ranges from 30-90 days. Initial filing and adjuster scheduling may take 1-2 weeks. The adjuster inspection and report usually take another 1-2 weeks. Once you receive the adjuster's report and settlement offer, you have time to review and respond. If you file a supplemental claim for additional damage discovered during repairs, this extends the timeline. Communication delays and claim complexity can lengthen the process, so staying in regular contact with your insurance company helps move things forward.
Will my insurance premiums increase after filing a roof claim?
This depends on your insurance company and policy terms. In many cases, a single weather-related claim (like storm damage) may not increase your premiums, especially if you have a good claims history. However, multiple claims within a short period can result in higher rates. Some insurers offer claim forgiveness programs. Review your policy documents or contact your insurance agent directly to understand how claims affect your specific coverage. It's worth asking about this before filing if you're concerned about premium increases.
What should I do if my roof insurance claim is denied?
Review your denial letter carefully to understand the specific reason. Common reasons include policy exclusions, lack of coverage for the damage type, or insufficient documentation. Gather additional evidence if possible and request a detailed explanation from your insurance company. You can file a claim denial appeal by submitting new documentation or requesting a second adjuster review. Some states have specific appeal procedures regulated by insurance commissioners. Consider having a roofing contractor review the denial to identify if hidden damage was missed during the initial inspection.
This article was written using GrandRanker