



Table of Contents
- Step 1: Assess the Leak Safely From Inside
- Step 2: Control Water Intrusion and Interior Damage
- Step 3: Emergency Roof Tarping in Heavy Rain
- Step 4: Temporary Roof Leak Repair Tools and Materials
- Step 5: Documenting Damage for Your Roof Leak Insurance Claim Process
- Step 6: Temporary vs. Permanent Roof Leak Repairs
- Step 7: When to Call a Roofing Professional
- Frequently Asked Questions
Last Updated: September 16, 2026
Step 1: Assess the Leak Safely From Inside
The first move when you need to fix roof leaks during heavy rain is to stay inside and find the source from the attic, not the rooftop. Water travels along rafters and sheathing before it drips, so the ceiling stain rarely sits under the breach. Climbing up mid-storm causes most of the injuries we see.
Attic Inspection and Leak Detection
Grab a flashlight, a tarp or plastic sheet for the floor, and a bucket. In the attic, look for dark streaks on the underside of the roof deck, sagging insulation, and rusted nail tips. Those clues point to active water intrusion even when no drip is visible yet. Follow the wet path uphill until it stops; that endpoint is usually near your leak.
Safety Assessment: When to Stay Off the Roof
Wet shingles, standing water, and wind make a roof a genuine hazard. Stay off it during active rain, lightning, or gusts strong enough to move a ladder. If you cannot stand steadily on the ground, you cannot work safely on the roof. Wait for the storm to pass, then inspect from a ladder on level ground with a spotter present.
Step 2: Control Water Intrusion and Interior Damage
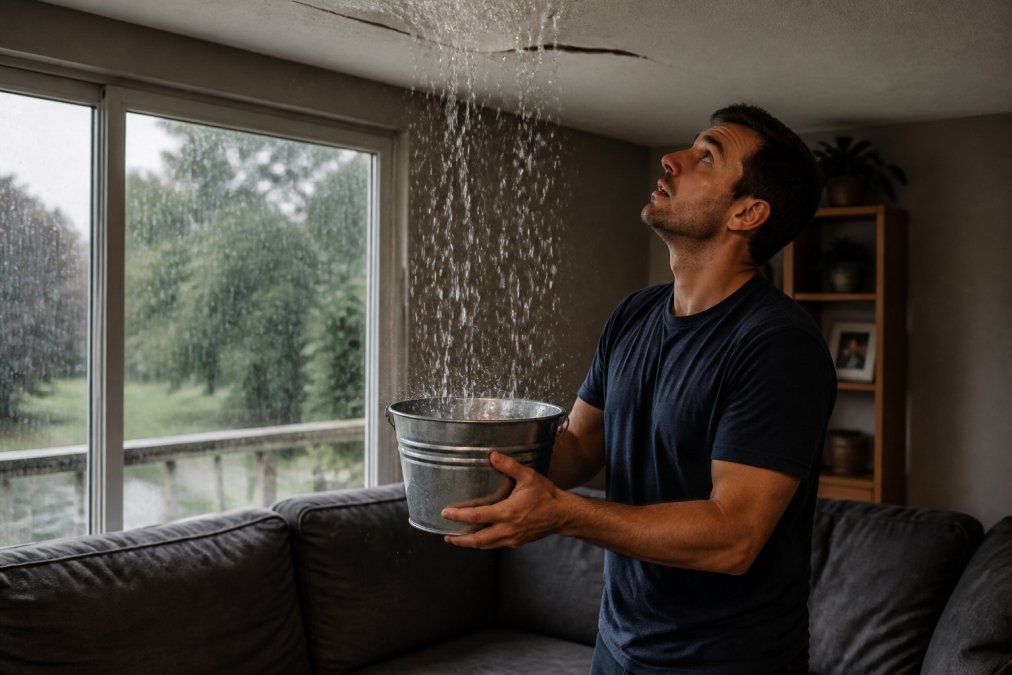
Controlling water intrusion means containing what is already inside before it spreads. Move furniture and electronics clear, place buckets under active drips, and lay plastic over what you cannot relocate. This buys time and limits moisture damage while you wait out the storm.
Temporary Patch From the Inside
A temporary patch from the attic can slow an active leak. Push plywood or a stiff board against the leaking area and angle it so water runs into a bucket. For small punctures, roofing cement or a peel-and-stick patch applied from inside works until conditions improve. This is mitigation, not a fix, but it protects ceilings, drywall, and insulation from further damage.
Photograph every drip and stain before you patch anything. Insurers want to see the leak in progress, and a clean before-and-after record makes the roof leak insurance claim process far smoother.
Step 3: Emergency Roof Tarping in Heavy Rain
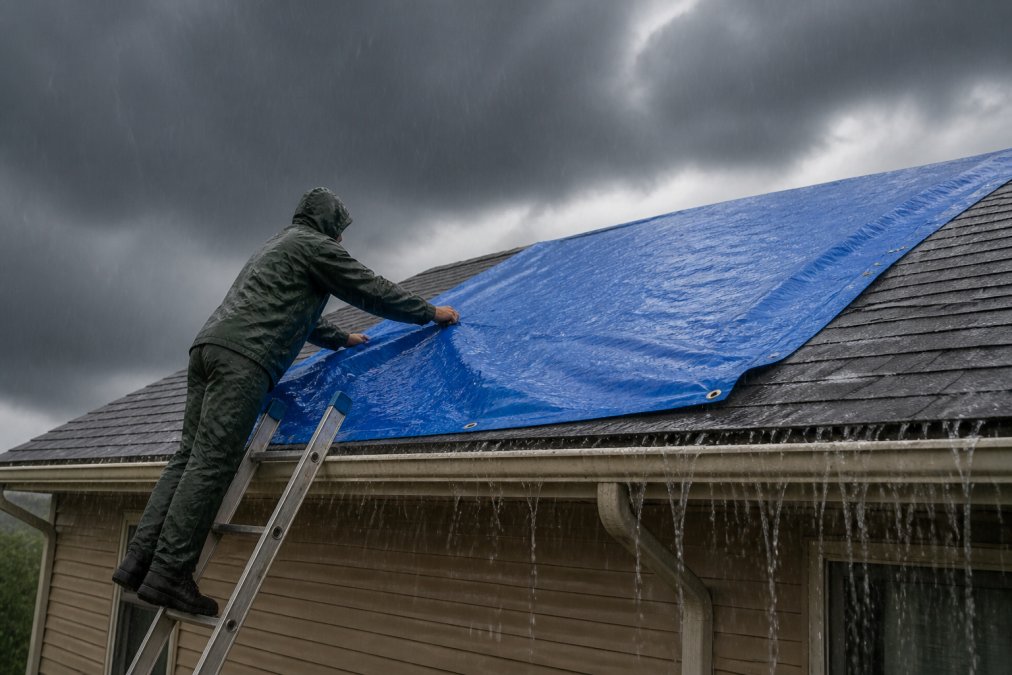
Emergency roof tarping is the standard way to stop water intrusion during an active storm, but only when the rain eases and it is safe to be on the roof. A properly secured tarp sheds water away from the breach and protects the underlayment until a permanent repair is possible.
Step 4: Temporary Roof Leak Repair Tools and Materials
A stocked emergency repair kit saves a scramble mid-storm. Keep these temporary roof leak repair tools in a waterproof bin, and check batteries and sealant dates at the start of every storm season.
The Core Kit
- Heavy-duty polyethylene tarp (at least 20 by 30 feet)
- Roofing cement or sealant and a caulk gun
- Peel-and-stick flashing tape
- Cap nails or furring strips
- Utility knife, hammer, and pry bar
- Ladder, safety harness, and non-slip gloves
- Flashlight or headlamp with fresh batteries
| Tool | Purpose | When to Use |
|---|---|---|
| Polyethylene tarp | Sheds water over breach | Active storm, large area |
| Roofing cement | Seals small punctures | Small, accessible leaks |
| Peel-and-stick tape | Patches flashing and seams | Quick spot repairs |
| Cap nails and strips | Anchors tarp against wind | Any tarping job |
| Safety harness | Prevents falls | Any roof access |
Safety Gear Checklist
Most guides say “wear safety gear” and stop there. Here is what matters on a wet roof:
- Fall protection harness anchored to a manufacturer-approved anchor point, not a chimney or vent pipe. A harness without an anchor is decoration.
- Non-slip footwear with a soft rubber compound. Hard-soled work boots slide on wet asphalt shingles; roofing-specific soles grip.
- Cut-resistant gloves for metal flashing and cap nails.
- Safety glasses for overhead work and debris.
- Hard hat if anyone works below you.
- Ladder stabilizer or standoff so the ladder does not rest on the gutter, which can crush it and shift under load.
- A spotter on the ground who can call for help and steady the ladder.
Night-Time Emergency Protocol
Most guides assume daylight. Storms do not. If you discover a leak after dark, the rules change:
- Do not go on the roof at night. Depth perception, wet surfaces, and a flashlight beam lighting a two-foot circle make a fall far more likely. No tarp is worth the emergency room.
- Contain the water inside. Buckets, towels, and plastic sheeting over furniture. If the ceiling bulges, pierce a small hole at its lowest point with a screwdriver to drain it in a controlled stream, a sudden collapse dumps far more water and debris.
- Kill power to affected rooms. If water is near outlets, switches, or a light fixture, turn off that breaker before touching anything wet. Do not stand in standing water while doing it.
- Move valuables and electronics to a dry room and elevate what you cannot move.
- Photograph everything with your phone’s flash. Night-time photos are still evidence.
- Call a 24-hour roofing service if the leak is widespread or the ceiling sags. Many storm-response roofers tarp at night when conditions allow.
- Set a morning alarm to reassess at first light and tarp then if the rain has eased.
Keep a dedicated storm bin, tarp, tape, cement, headlamp, gloves, and a printed copy of your insurance policy’s claim phone number, in a closet away from the attic. When the power is out and the ceiling is dripping, you do not want to be searching the garage.
Temporary vs. Permanent: What the Kit Cannot Do
Everything in this kit is a stopgap. Tarps degrade in UV within weeks, roofing cement shrinks and cracks, and peel-and-stick tape loses adhesion in heat. None restore the roof’s warranty, and some manufacturers void coverage if they find non-approved sealants on the deck. Treat every item as a countdown to a permanent repair, not a solution.
Step 5: Documenting Damage for Your Roof Leak Insurance Claim Process
Documentation turns a stressful leak into a paid claim. Most homeowners file once, accept the first number, and leave money on the table.
Build the Claim File Before You Call
Photograph the interior damage, attic evidence, and roof breach from the ground with a zoom lens. Shoot wide first, then close: the room and stain, then the stain’s edge and any bubbling paint or sagging drywall. Date-stamp everything. Keep receipts for tarps, materials, hotel stays if the home is uninhabitable, and emergency services, typically reimbursable under additional living expense or debris removal coverage.
Reporting the Claim: Deadlines and the First Call
Report the loss promptly. Most policies require notice within a reasonable time, which many state insurance departments treat as days, not weeks. Delayed reporting is a common reason claims get denied or reduced. When you call, give the date of loss, the cause (hail, wind, fallen limb), and the areas affected. Do not speculate about the roof’s age or how long the leak has been active.
What Not to Say to a Roof Insurance Adjuster
Avoid guessing at the cause or age of your roof. Do not say the leak has been “going on for a while,” and do not accept a quick denial without a written explanation. Stick to facts you can document. If asked about prior leaks, answer factually, do not volunteer theories.
- Request a re-inspection. Ask the adjuster to return with your contractor present. Many revise the scope once a licensed roofer walks the deck with them.
- Submit a contractor’s estimate. A line-item estimate from a licensed roofer showing the same damage priced higher often triggers a supplement.
- Invoke the appraisal clause. Most homeowners policies include an appraisal provision. If you and the insurer disagree on the amount of loss, either side can demand appraisal, where each side picks a competent appraiser and the two pick an umpire. This is a policy right, not a lawsuit, and frequently the fastest path to a fair number.
- Escalate to your state insurance department. Every state has a consumer services division that accepts complaints against insurers. Filing is free and creates a paper trail.
Never sign a final settlement or a contractor’s “direction to pay” before you understand it. Signing away your claim rights is the fastest way to get stuck with uncovered repairs. Also be wary of any contractor who offers to “handle everything” and asks you to sign a contingency agreement before you have seen an itemized scope.
Matching the Repair to the Payout
Once the claim is approved, compare the adjuster’s scope line by line against your contractor’s estimate. Missing line items, drip edge, ice and water shield, ridge vent, disposal, permits, are the most common source of underpayment. A supplement is normal, not a confrontation. Ask your contractor to submit one whenever the scope does not match the work required.
Step 6: Temporary vs. Permanent Roof Leak Repairs
A temporary patch keeps water out for days or weeks; a permanent repair restores the roof’s structural integrity. Tarps, sealant, and tape are stopgaps that degrade in sun and wind. A permanent fix replaces damaged shingles, flashing, and underlayment, and corrects the cause, whether a failed flashing detail or a worn pipe boot.
Step 7: When to Call a Roofing Professional
Call a roofing professional when the leak is widespread, the pitch is steep, the damage involves flashing or structural elements, or your insurance claim needs a documented assessment. A contractor also handles what most homeowners cannot: safe roof access, accurate diagnosis, and a repair that holds.
Frequently Asked Questions
Is it safe to go on the roof during heavy rain?
No. Wet shingles, moss, and metal flashing become extremely slippery, and wind gusts can knock you off balance. The CDC reports falls are a leading cause of home injury. Stay off the roof during active rain. Work from inside the attic or call a roofing professional for emergency roof tarping. If water is pouring in, focus on interior water control and documentation until the storm passes.
What immediate steps should I take if my roof is leaking during a storm?
First, move furniture and electronics away from the leak. Place buckets and towels to catch water. If safe, go into the attic with a flashlight to spot the source, but do not step on wet insulation or wiring. Take photos and video for your roof leak insurance claim process. If the ceiling bulges, puncture it with a small hole to release trapped water and prevent a collapse. Then call a professional for temporary roof leak repair tools and tarping.
What should I avoid saying to a roof insurance adjuster?
Never say the damage is ‘my fault’ or that the roof was already old or worn. Avoid guessing at the cause or admitting you neglected maintenance. Do not accept a verbal settlement or sign anything on the spot. Stick to facts: when you noticed the leak, what you did to mitigate damage, and your documentation. If you feel pressured, tell the adjuster you need time to review their offer with a contractor.
How can I temporarily patch a roof leak from the inside?
From inside the attic, you can apply a bead of roofing cement or a peel-and-stick patch over the leak source if you can reach it safely. For a quick fix, use a container to catch drips and a fan to dry the area. Never use a heat gun or open flame near roofing materials. This is only a temporary measure. Schedule a professional roof inspection as soon as the rain stops to make a permanent repair.