


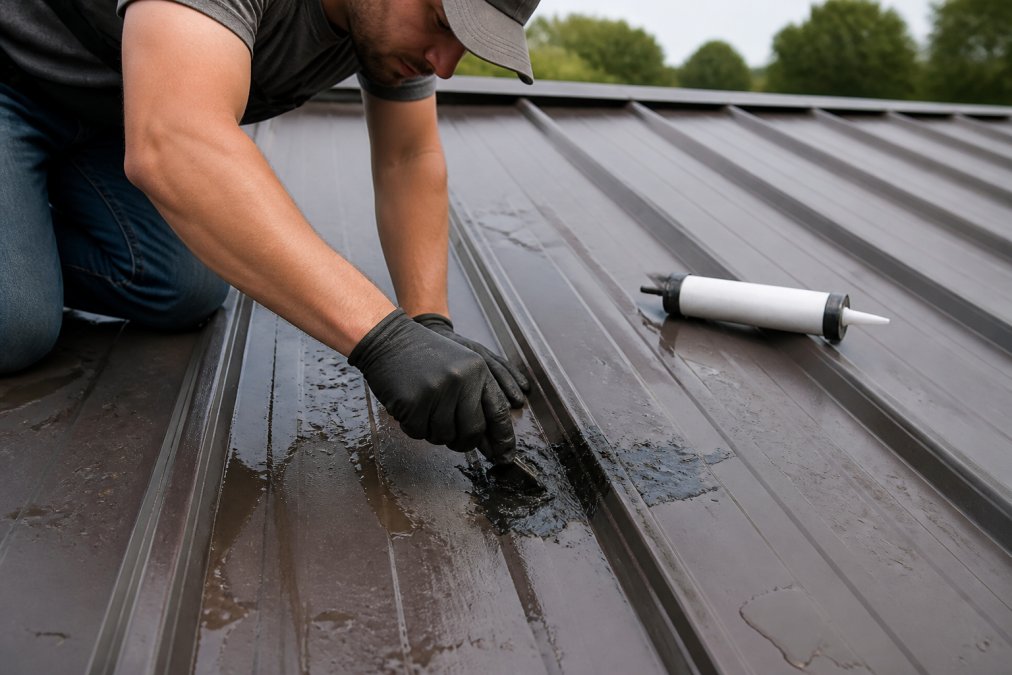

Table of Contents
- Can You Repair a Metal Roof Leak? What Homeowners Need to Know
- How to Find a Leak in a Metal Roof
- Metal Roof Sealant Types: Which One Stops the Leak?
- Step-by-Step Metal Roof Leak Repair
- Weather-Specific Application Guide for Metal Roof Repairs
- When to Call a Professional Roofer
- Long-Term Maintenance Schedule for Metal Roofs
- Conclusion: Repair or Replace Your Metal Roof?
- Frequently Asked Questions
Last Updated: September 20, 2026
Can You Repair a Metal Roof Leak? What Homeowners Need to Know
Yes, most metal roof leaks can be repaired without replacing the roof. The fix depends on where water is getting in, and metal roofs usually fail at seams, fasteners, and flashing rather than across the panels themselves. That is good news, because it means a targeted repair often solves the problem.
A metal roof leak is water infiltration that passes through a joint, fastener, or penetration in the metal roofing system rather than through the metal panels themselves. Metal panels rarely fail on their own. The weak points are the connections between them.
Metal roof leaks almost never start in the middle of a panel. They start at seams, fasteners, and flashing. Look there first.
How to Find a Leak in a Metal Roof
Finding a metal roof leak means tracing water back to its entry point, not its drip point. Water can travel along a panel, a purlin, or the underlayment before it shows up inside. The stain on your ceiling is often far from the actual hole.
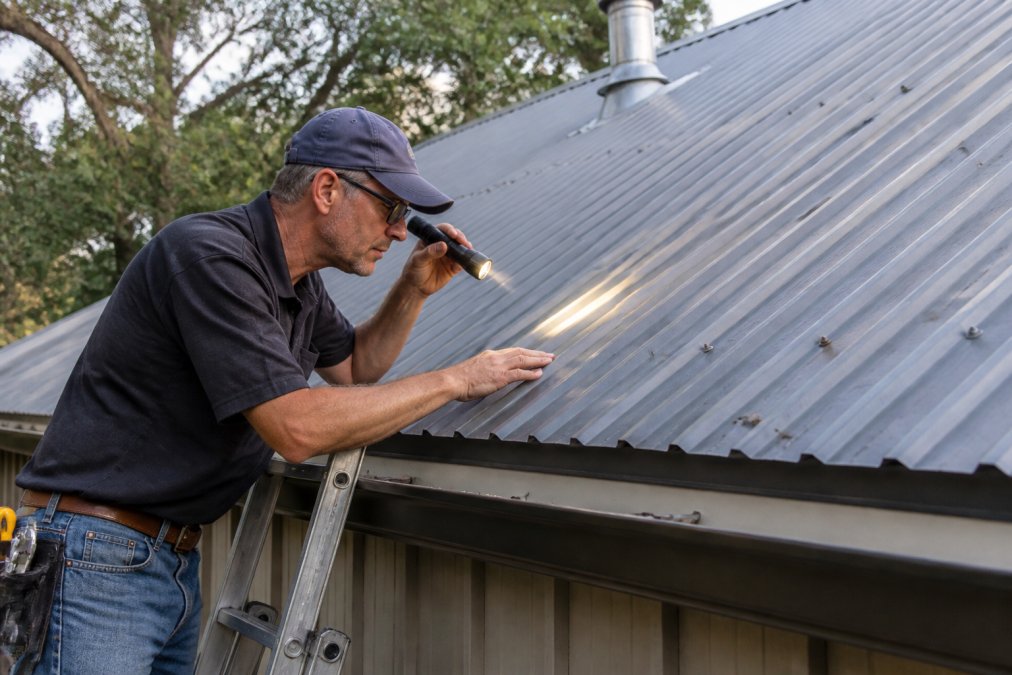
Start your search on a dry day. Bring a flashlight and look for these signs:
- Rust trails running down from a fastener or seam
- Stained or dark streaks on the metal surface
- Loose or backed-out screws with missing neoprene washers
- Cracked or dried sealant along panel overlap and ridge cap
- Bent or lifted flashing around vents, chimneys, and drip edge
Work uphill from the leak. If water drips at one spot inside, the entry point is usually above and upslope from it. Check the roof pitch, since low-slope sections pond water and fail faster.
Visual Inspection: Fasteners, Flashing, and Seams
Fasteners are the number one failure point on metal roofs. Over time, thermal expansion and contraction work screws loose. Once a screw backs out, its neoprene washer no longer seals, and water slips straight through.
Metal Roof Sealant Types: Which One Stops the Leak?
Here is how the main options compare:
| Sealant Type | Best For | Cure Mechanism | Key Trade-Off |
|---|---|---|---|
| Polyurethane sealant | Seams, flashing, general repairs | Moisture-cure | Strong, paintable; slow cure in dry cold |
| Silicone sealant | Wide areas, ponding spots | Moisture-cure (neutral) | Flexible, UV stable; cannot be painted, poor recoat adhesion |
| Butyl tape | Under flashing and laps | Pressure-sensitive, no cure | Sticks on contact; can ooze in extreme heat |
| Liquid rubber / elastomeric coating | Large patches, worn sections | Solvent or water evaporation | Thick, bridges gaps; needs multiple coats |
| Seam tape | Panel overlap and joints | Reinforced butyl or butyl-backed | Reinforces the seam; must be covered with sealant |
Material Compatibility: Matching Sealant to Your Roof
Use this matrix:
| Roof Material | Recommended Sealant | Avoid | Why |
|---|---|---|---|
| Galvanized steel | Polyurethane over galvanized iron primer | Bare-surface silicone | Zinc surface repels many sealants; primer gives grip |
| Corrugated metal (uncoated) | Polyurethane or butyl tape at overlap | Acid-cure silicone | Acid cure can etch bare metal |
| Painted panels | Neutral-cure silicone or polyurethane | Solvent-heavy products | Solvents can lift the factory paint |
| Aluminum | Butyl tape or aluminum-compatible polyurethane | Anything with copper | Copper-aluminum contact causes galvanic corrosion |
| Copper | Copper-compatible sealant or lead-free solder | Aluminum or galvanized fasteners | Dissimilar metals corrode at the joint |
| Galvalume / zinc-aluminum | Polyurethane over appropriate primer | Untested generic caulk | Coating chemistry varies; test a small spot |
Pick one chemistry and stay with it across the whole repair.
Step-by-Step Metal Roof Leak Repair
What You’ll Need:
- Wire brush and putty knife
- Galvanized iron primer
- Polyurethane sealant or butyl tape
- Replacement screws with neoprene washers
- Seam tape and a patch kit
- Safety harness and non-slip shoes
Step 1: Clean and Prepare the Surface
Prime any bare metal with a galvanized iron primer. This gives the sealant something to grip and slows corrosion. Let the primer cure per the label before you seal.
Step 2: Repair Flashing, Vents, and Fasteners
Replace any loose or rusted fastener with a new screw and neoprene washer. Tighten it snug, not so tight that you crush the washer.
Step 3: Seal Seams and Apply Patch or Coating
Lay seam tape along the panel overlap, then cover it with a caulk bead of polyurethane sealant. For larger worn spots, apply a patch or roll on an elastomeric coating.
Weather-Specific Application Guide for Metal Roof Repairs
Weather decides whether your repair cures or fails. Sealant needs a dry surface, a surface temperature inside the product’s rated range, and enough time to set before rain. This is the section most guides skip, and it is where DIY repairs most often go wrong.
Surface Temperature, Not Air Temperature
- Below the label minimum (often around 40°F for many polyurethanes): The sealant skins over but never fully cures. It looks fine for a month, then peels. Use a cold-rated product or wait.
- Above the label maximum (often around 100°F surface): The sealant skins too fast to tool, trapping solvent and creating bubbles. Work early morning when the panel is cool.
- Ideal window for most polyurethanes: Roughly 50-80°F surface temperature with low humidity and no rain forecast for the full cure time.
Humidity and Cure Chemistry
Moisture-cure sealants (most polyurethanes and neutral-cure silicones) need ambient humidity to set. In arid conditions, they can stay tacky for days. In very humid conditions, they skin fast and may bubble. Butyl tape is the exception, it is pressure-sensitive and does not cure, so it works across a wider humidity range.
Rain and Dew Windows
- Before rain: Do not seal if rain is forecast within the product’s full cure window. A polyurethane that needs 24 hours to cure will wash out if rain hits at hour six.
- Morning dew: On cool nights, dew forms on panels and can ruin a bond applied at dawn. Wipe the surface dry and confirm it stays dry for the cure window.
- After rain: Wait until the panel surface is fully dry, not just the top of the ribs. Water hides in the seam and under the washer.
Wind and Debris
Wind lifts seam tape before it adheres and blows grit onto wet sealant. If sustained wind is above roughly 15 mph, reschedule. On a metal roof, wind also makes ladder work and harness anchoring riskier, which is its own reason to wait.
Seasonal Playbook
- Spring: Best overall window in most climates. Watch for afternoon thunderstorms that compress your cure time.
- Summer: Work at first light. Surface temps climb fast; by mid-morning a dark panel can exceed the sealant’s rated maximum.
- Fall: Good temperatures, but shorter days and earlier dew. Start after the dew burns off.
- Winter: Cold-rated products only, and only on dry, sunny afternoons. Many repairs should wait for spring unless the leak is active.
When to Call a Professional Roofer
Call a professional when the leak is widespread, the decking is soft, or you cannot safely get on the roof. Some repairs are not worth the risk.
Get a pro involved if you see:
- Multiple leaks across different sections
- Sagging or soft spots in the roof deck
- Rust that has eaten through a panel
- Leaks near complex flashing or valleys
- Any roof pitch that feels unsafe to walk
Photograph every leak and stain before you call anyone. Insurers and roofers both work faster with clear documentation of the damage.
Long-Term Maintenance Schedule for Metal Roofs
- Twice a year: Inspect fasteners, flashing, and seams. Tighten or replace loose screws.
- Every spring: Clear gutters and check the drip edge.
- After every major storm: Look for bent flashing, dents, and lifted panels.
- Every few years: Reapply sealant at known weak points and touch up primer on bare spots.
Conclusion: Repair or Replace Your Metal Roof?
Most metal roof leaks can be repaired, and repair is usually the right call when the panels and decking are sound. Replace only when rust has spread across panels or the decking is failing.
Frequently Asked Questions
What is the best sealant for a metal roof leak?
Polyurethane sealants work well on most metal roof leaks because they bond to metal, resist thermal expansion and contraction, and hold up to moisture. For larger gaps or seams, butyl tape provides a flexible backup layer under the sealant. Silicone works for small, temporary fixes, but it does not adhere as reliably to bare metal over time. Always clean the surface first and match the sealant to your roof material.
Can you patch a hole in a metal roof?
Yes, you can patch a hole in a metal roof. For small holes from fasteners or impact damage, clean the area with a wire brush, apply a polyurethane sealant, and cover with a metal patch or seam tape. Larger holes may need a metal patch secured with neoprene-washered fasteners and sealed at the edges. If the hole is bigger than a few inches or the surrounding metal is corroded, a professional repair is the safer choice.
Is it better to repair or replace a leaking metal roof?
Repair makes sense when the leak comes from a failed fastener, damaged flashing, or a worn sealant bead and the panels are otherwise sound. Replacement is the better option when rust scale covers large sections, panels are loose, or leaks keep returning after multiple repairs. A professional inspection can tell you whether the metal still has decades of life left or whether patching is just delaying the inevitable.
Can I use silicone to seal a metal roof?
Silicone can seal small metal roof leaks in a pinch, but it has limits. It does not bond as strongly to bare or galvanized metal as polyurethane, and it can peel when panels expand and contract with temperature swings. Silicone also makes future repairs harder because most sealants will not stick to it. Use silicone for quick fixes, then plan a proper repair with a metal-compatible sealant.