



Table of Contents
- Roof Damage Insurance Claim Checklist
- How to Write a Roof Damage Report for Insurance
- What to Say to Insurance Adjuster for Roof Damage
- How Long Does a Roof Insurance Claim Take?
- Roof Damage Documentation: Photos, Video, and Digital Evidence
- Actual Cash Value vs. Replacement Cost Value: What Your Policy Pays
- What to Do If Your Roof Damage Documentation Leads to a Denied Claim
- Frequently Asked Questions
Last Updated: September 28, 2026
Roof Damage Insurance Claim Checklist
Learning how to document roof damage for insurance claims starts with one hard truth: the paperwork matters as much as the damage itself. At Rescue Roofing, we’ve watched homeowners with serious storm damage get small settlements simply because their evidence was thin. A complete claim file changes that outcome.
Here’s your checklist. Work through it in order, starting the day you spot the problem:
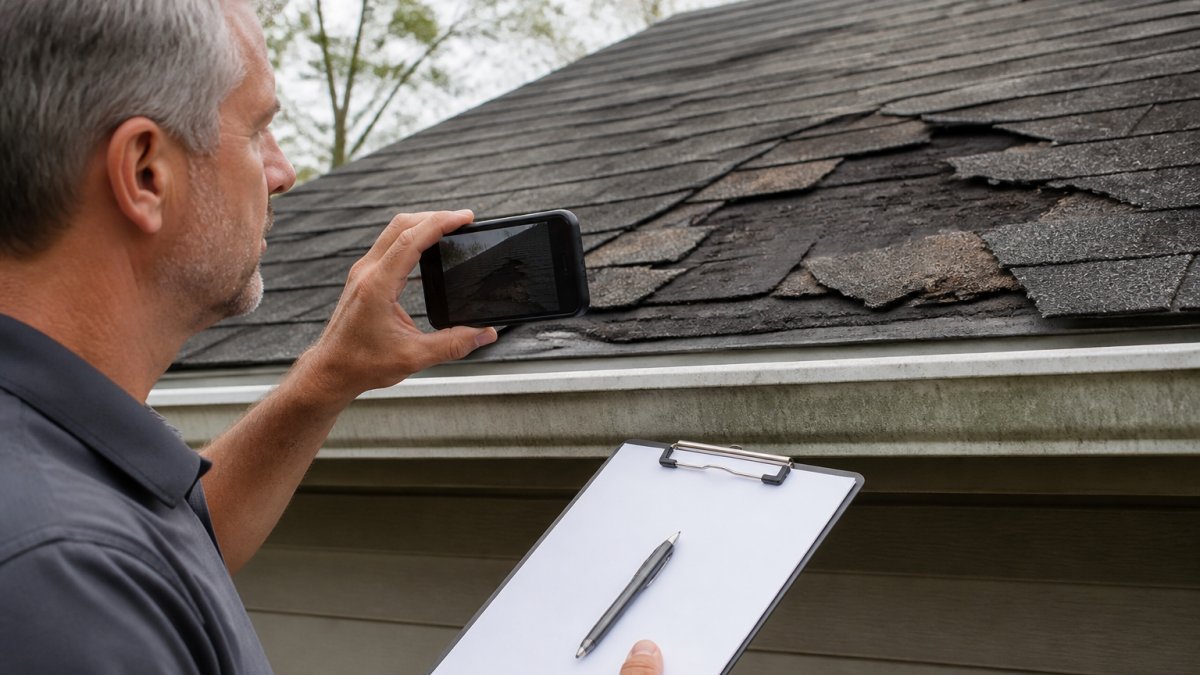
- Photograph the damage from the ground, safely
- Film a slow video walkthrough of the roof line
- Write down the date of loss and weather conditions
- Save every receipt for temporary repairs
- Pull your policy and check your coverage limits
- File the claim and record your claim number
- Log every call with your insurer
- Get a written contractor estimate
Most claims go wrong at step one. People climb onto wet roofs, take three blurry photos, and call it documentation.
The Insurance Information Institute’s claim guidance makes the priority clear: safety first, evidence second.
Climbing a damaged roof to photograph it is the most common mistake we see. Loose shingles and soft decking cause falls every storm season. Photograph from the ground, a ladder at the eaves, or use a licensed inspector.
How to Write a Roof Damage Report for Insurance
A roof damage report is a written record of what was damaged, when it happened, and how you found out. It does not need legal language. It needs dates, details, and consistency.
Your report should cover:
- Date of loss: The storm date, not the day you noticed the leak
- Weather records: Local hail reports, wind speeds, or storm warnings
- Damage description: Missing shingles, granule loss, dents in vents and gutters
- Interior signs: Ceiling stains, attic moisture, water intrusion
- Actions taken: Tarping, calling a roofer, filing the claim
What to Say to Insurance Adjuster for Roof Damage
Keep your conversation with the insurance adjuster short, factual, and consistent with your written report. You are not negotiating. You are confirming facts.
- Do not guess at causes you can’t confirm
- Do not estimate repair costs yourself
- Do not say “it’s been leaking for years”
- Do not accept a settlement on the first call
- Do ask for the adjuster’s name and report number
- Do ask when the claim adjuster report will be ready
Ask the adjuster to note your contractor’s name in the file before the inspection. It signals you have professional backup and often results in a more thorough assessment of structural integrity.
How Long Does a Roof Insurance Claim Take?
Most roof insurance claims take two to eight weeks from filing to settlement. Simple claims with clear storm damage move fastest. Contested claims, or ones needing a third-party inspection, can stretch for months.
Several things slow a claim down:
- Incomplete photo evidence or video documentation
- Missing mitigation receipts
- Disagreement over actual cash value versus replacement cost value
- Weather records that don’t match your date of loss
- A claim filing deadline you missed
| Claim Stage | Typical Timing | What Slows It Down |
|---|---|---|
| Filing to adjuster contact | 1-3 days | Missing claim number, vague date of loss |
| Inspection scheduling | 3-10 days | No contractor estimate ready |
| Adjuster report issued | 1-2 weeks | Disputed damage scope |
| Settlement offer | 1-3 weeks | Depreciation disputes, coverage gaps |
| Payment issued | 1-2 weeks | Unverified mitigation receipts |
Roof Damage Documentation: Photos, Video, and Digital Evidence
Strong roof damage documentation combines photos, video, and organized digital files. Adjusters approve claims faster when the evidence is easy to review, and disputes get resolved faster when the file is technically sound.
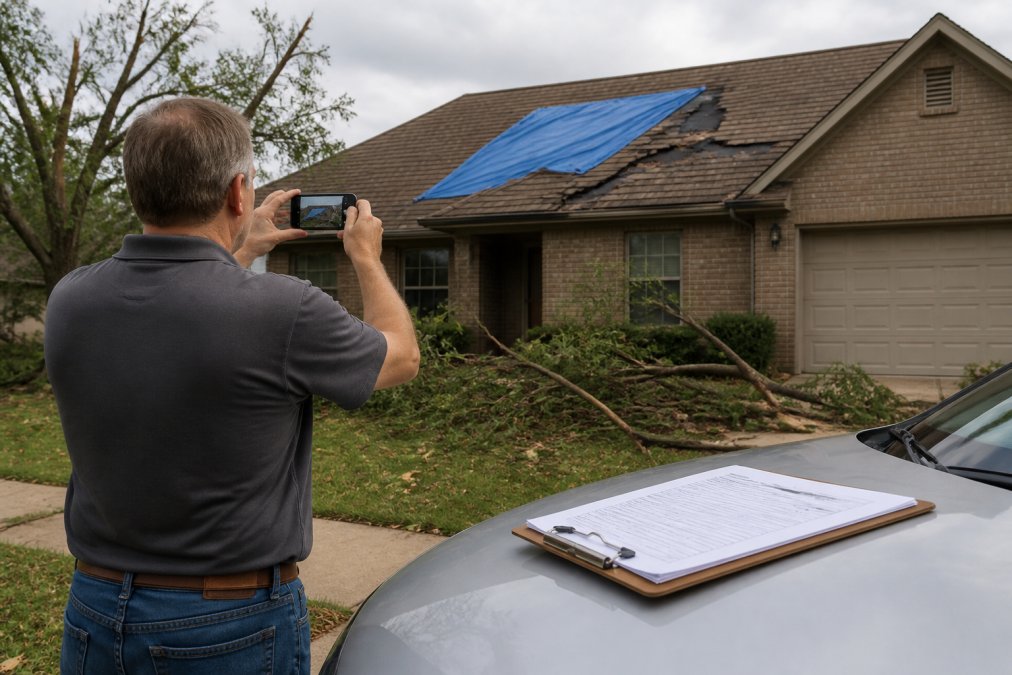
Shoot in the right order
Start with wide shots. Photograph the whole roof from several angles so the adjuster sees context, the slope, the surrounding trees, the direction of the storm. Then move to mid-range shots of each slope, and finally close-ups of shingle damage, missing granules, and dents in metal vents, gutters, and downspouts.
Preserve metadata, it is evidence
Every smartphone photo carries EXIF metadata: the date, time, and often GPS coordinates where it was taken. That metadata is what ties your photo to your date of loss. Two habits protect it:
- Do not edit, crop, or apply filters to original files. Editing can strip or alter metadata and gives an adjuster a reason to question the image.
- Do not send photos through apps that compress and strip metadata, such as most messaging apps. Upload originals or share a cloud folder link instead.
Organize files the way an adjuster reads them
Digital evidence management means naming files by date and location, not leaving them as IMG_4471. A simple folder structure works:
- Date of loss folder
- Ground-level wide photos
- Slope-by-slope mid-range photos
- Close-up damage photos
- Video walkthrough
- Receipts and reports
Drone photography: useful, but check the rules first
Some homeowners use drone photography for roof inspections. It captures steep or tall roofs safely, but the rules matter. The FAA rules for small drones require registration for recreational drones above the weight threshold and certification for most commercial drone use, and flying over people or near airports carries restrictions. Local ordinances may add privacy limits on photographing neighboring property.
The claims that get approved quickly share one trait: evidence an adjuster can review in under five minutes. Clear filenames, intact metadata, dated photos, and a short narrated video do more than a hundred unlabeled images.
Actual Cash Value vs. Replacement Cost Value: What Your Policy Pays
Actual cash value pays you the depreciated value of your roof. Replacement cost value pays what it costs to replace it today. The gap between the two can be the difference between a full repair and a patch job.
Here’s how each works:
- Actual cash value (ACV): Your roof’s age and condition reduce the payout. A 15-year-old roof gets a fraction of replacement cost.
- Replacement cost value (RCV): Your insurer covers the cost to replace with similar materials, minus your deductible.
What to Do If Your Roof Damage Documentation Leads to a Denied Claim
A denied claim is not the end. You have the right to appeal, and good documentation is your strongest tool. The key is to move quickly and follow the process the denial letter lays out.
Read the denial letter like a checklist
Insurers must state the reason for denial in writing. Most denials fall into a few buckets, and each has a different response:
- Missed deadline: You filed after the policy’s notice window. Check the policy for the exact deadline and whether the insurer received notice another way, such as a contractor’s call.
- Excluded cause: The damage type is not covered, or the policy excludes it. Compare the cited exclusion to the policy language.
- Insufficient proof: The adjuster could not confirm the damage or the date of loss. This is the bucket your documentation directly attacks.
- Wear and tear or maintenance: The insurer attributes the damage to age rather than a covered event. Weather records and a contractor’s causation opinion are the counter.
Build the appeal file
Then build your appeal:
- Request the claim adjuster report and any inspection notes in writing
- Compare the report against your own photo evidence and documentation log, line by line
- Get a third-party inspection from a licensed contractor, with a written causation opinion
- Gather weather records proving the date of loss, such as National Weather Service storm reports or local hail data
- Submit a written statement with your contractor’s estimate attached
The strongest appeals do not argue with the adjuster’s conclusion. They supply evidence the first review did not have, a dated photo the adjuster never saw, a weather record that confirms the storm, or a contractor report that documents structural integrity issues the adjuster overlooked.
Know your escalation options
Do not cash a settlement check you believe is too low without reading the accompanying letter. Cashing it can be treated as acceptance of the amount and may close the claim.
Most successful appeals come down to one thing: evidence the first review missed. A contractor estimate that documents structural integrity issues the adjuster overlooked can reopen a closed claim.
Frequently Asked Questions
What documentation do I need for a roof damage claim?
You need dated photos and video of the damage, a written timeline of when the damage occurred, receipts for any temporary repairs, a contractor estimate, and your policy number. Weather records for the date of loss help prove storm damage. Keep all original documents and store digital copies in a labeled folder. This roof damage documentation gives your adjuster everything needed to process the claim without delays.
What should I not say to an insurance adjuster about my roof?
Avoid guessing at the cause, saying the roof was already old or worn, or using phrases like ‘it’s been leaking for a while.’ Do not accept a settlement on the spot or sign anything before reviewing the adjuster’s report. Stick to facts: what you saw, when you saw it, and what documentation you have. If you are unsure about coverage, ask the adjuster to explain it rather than speculating.
How long do you have to file a roof damage claim after a storm?
Most policies require you to report damage within one year of the date of loss, but some states and insurers set shorter windows, often 30 to 90 days. Review your policy’s claim filing deadline and report damage as soon as you notice it. Delays can weaken your claim because the insurer may argue the damage worsened due to neglect. File promptly and keep a copy of every submission.
Should I hire a contractor before filing my roof insurance claim?
You can file first, but a contractor estimate strengthens your claim. A licensed roofer can document damage, provide a written report, and speak with your adjuster using industry terminology. Rescue Roofing assists homeowners with insurance claim filing, communicates with adjusters, and provides accurate aerial quotes so you have solid evidence before the claim process timeline begins.
Roof damage claims reward preparation, and most homeowners are already behind by the time they call. Rescue Roofing offers thorough inspections, accurate aerial quotes, and direct communication with insurance companies and adjusters. We’re available 24 hours for storm emergencies, and flexible financing options help spread the cost of a full replacement. Get started with Rescue Roofing and turn a stressful claim into a settled one.