



Table of Contents
- Gather Your Original Project Documentation
- Contact Your Original Roofing Contractor
- Verify Manufacturer Warranty Registration
- Roofing Workmanship Warranty vs Manufacturer Warranty
- Check Warranty Transferability for New Homeowners
- What Voids a Roof Warranty
- How to File a Roof Warranty Claim
- Troubleshooting Denied Warranty Claims
Last Updated: August 19, 2026
Gather Your Original Project Documentation
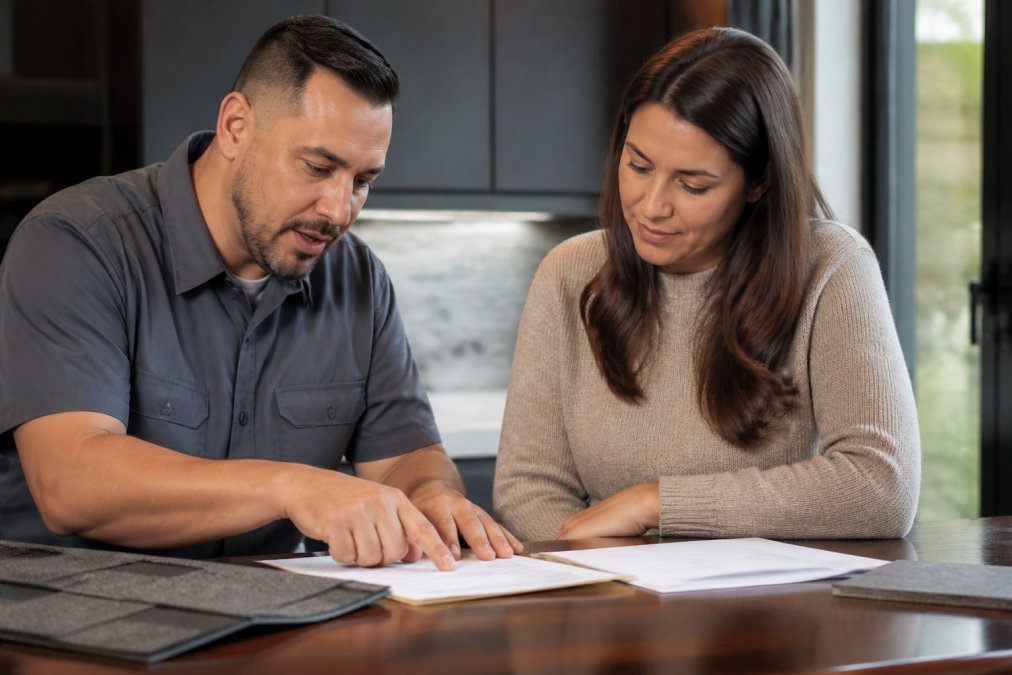
The first step in learning how to verify roof warranty coverage is locating the paperwork from your original roofing project. This documentation forms the foundation of any warranty claim and proves what was installed, when, and by whom.
Start by searching your home files systematically. Look for the original invoice from your roofing contractor, which typically includes the project date, materials used, labor costs, and warranty terms. Beyond the invoice, gather the roofing contractor’s warranty certificate, building permit documentation, inspection reports from project completion, and any receipts for subsequent repairs or maintenance.

If you’ve misplaced physical copies, contact your contractor directly and ask for duplicates. Many roofing companies maintain digital archives and can email copies within days. If the original contractor is no longer in business, check with the roofing manufacturer, they often have records tied to the project date and property address. Search your email inbox for messages from the contractor and check cloud storage services like Google Drive, Dropbox, and OneDrive.
Keep a dedicated folder, physical or digital, for all roofing documentation. Future owners or contractors will need this information, and having it organized saves hours of searching when warranty issues arise.
Contact Your Original Roofing Contractor
Once you’ve gathered your documentation, reach out to the roofing contractor who performed the work. They hold critical information about your roofing system, installation details, and warranty registration status.
Begin by calling the contractor’s main line with your address, project date, and any invoice numbers ready. Ask specifically for confirmation that the work was completed and the warranty is active, details about what the warranty covers, the warranty duration and conditions that might void coverage, and whether the warranty was registered with the manufacturer.
If the contractor is no longer operating, search for them online or check with your local Better Business Bureau. Roofing companies sometimes merge, relocate, or rebrand. When you speak with the contractor, request copies of any documentation they maintain separately from what you have at home, including project photos, inspection notes, and material specifications.
Document this conversation by writing down the date, time, person’s name, and what they told you about your warranty coverage. Save any emails they send you. This creates a paper trail proving you took reasonable steps to verify your warranty status.
If the contractor becomes difficult to reach or unresponsive, this doesn’t automatically void your warranty. However, document your attempts to contact them, dates, times, and methods, as evidence of your good faith effort.
Verify Manufacturer Warranty Registration
The manufacturer’s warranty is separate from the contractor’s workmanship warranty, and registration status directly affects your coverage. Many roofing material manufacturers require formal registration to activate or extend warranty periods.
Visit the website of your roofing material manufacturer. Common manufacturers include GAF, Owens Corning, CertainTeel, Malarkey, and IKO. Look for their warranty registration portal or customer service section. To register or verify existing registration, you’ll typically need your property address, project completion date, roofing material product name or code, the original contractor’s name or license number, and your proof of purchase.
Many manufacturers allow you to search their warranty database by entering your address. If the roof is already registered, you’ll see the warranty details, coverage period, and any special conditions. If it’s not registered and the deadline hasn’t passed, you can register immediately, some manufacturers offer extended coverage periods for timely registration.
If you can’t locate the manufacturer information from your paperwork, the original contractor can tell you which materials they installed. Manufacturer warranty registration is crucial because it’s often the only way to activate coverage. A roof installed five years ago without registration may have expired warranty protection, even if the materials are within their typical lifespan.
Roofing Workmanship Warranty vs Manufacturer Warranty
Understanding the difference between these two warranty types is essential when you verify roof warranty coverage. They protect against different problems and have different terms.
Workmanship warranty covers defects in installation. This warranty is provided by the roofing contractor and protects you if the installation was performed incorrectly, improper flashing, inadequate ventilation, incorrect fastener placement, or failure to follow manufacturer specifications. Workmanship warranties typically last 1-10 years depending on the contractor and project agreement.
Material warranty or manufacturer warranty covers defects in the roofing materials themselves. This warranty is provided by the shingle or roofing system manufacturer and protects you if materials fail prematurely due to manufacturing defects. Material warranties often run 20-30 years or even lifetime coverage on premium products, though they may be prorated in later years.
The distinction matters significantly during claims. If your roof is leaking due to improper installation, you’d file a claim under the contractor’s workmanship warranty. If shingles are deteriorating prematurely due to a manufacturing defect, you’d file under the manufacturer’s material warranty.
Most comprehensive roof failures involve both components, installation quality and material performance. When filing a claim, you may need to pursue both warranties simultaneously to achieve full coverage.
Your roof is only as good as the weaker of these two warranties. A contractor with a 5-year workmanship warranty and a manufacturer with a 25-year material warranty means you have 5 years of complete protection, then 20 years of material-only coverage.
Check Warranty Transferability for New Homeowners
If you’ve purchased a home with an existing roof, verifying the warranty’s transferability is critical. Not all roofing warranties automatically transfer to new owners, and some require formal transfer procedures with associated fees.
Review the original warranty documents carefully for language about "transferability" or "new owner coverage." Some warranties are non-transferable, meaning coverage ends when the original homeowner sells. Others are fully transferable at no cost. Many require a formal transfer process and a fee, typically between $50 and $300.
Contact the original roofing contractor to ask about transfer requirements. Provide the original homeowner’s name, project date, and your new address. Ask whether the warranty can be transferred, what documentation is needed, and whether there’s a transfer fee. Get this in writing if possible. verify contractor insurance.
If the original contractor is unavailable, contact the manufacturer directly. Provide your property address and the estimated installation date. For warranty transfer, you’ll typically need proof of purchase, proof of new ownership, a completed transfer form, transfer fee payment if applicable, and proof that the roof has been properly maintained.
Complete warranty transfers immediately after purchase. Waiting months or years can complicate the process, especially if the original contractor goes out of business or the manufacturer updates their transfer procedures.
What Voids a Roof Warranty
Understanding what voids a roof warranty prevents costly mistakes that could eliminate your coverage. Both manufacturer and contractor warranties contain specific conditions that must be met.
Common actions that void workmanship warranties include hiring someone other than the original contractor for repairs, installing incompatible materials, failing to maintain the roof as specified, making structural changes that affect the roof system, and performing unauthorized repairs or alterations.
Manufacturer warranties are voided by installation that doesn’t follow manufacturer specifications, using incompatible underlayment or flashing, improper maintenance or neglect, damage from excluded causes, modifications to the roofing system after installation, and failure to register the warranty within required timeframes.
One of the most common voiding scenarios involves improper maintenance. Many warranties require homeowners to keep gutters clear, trim overhanging branches, and address minor damage promptly. Neglecting these responsibilities can void coverage entirely.
Another frequent issue arises when homeowners hire unlicensed contractors for repairs. The original contractor’s warranty may require that only they, or licensed contractors they approve, perform subsequent work.
Before hiring any contractor for roof repairs or maintenance, verify that doing so won’t void your warranty. Contact the original contractor or manufacturer to confirm that a new contractor is acceptable under warranty terms.
How to File a Roof Warranty Claim
When you’ve verified your warranty coverage and identified a legitimate issue, filing a claim is the next step. The process varies slightly between contractor workmanship claims and manufacturer claims, but both follow similar patterns.
Step 1: Document the damage thoroughly. Take clear photographs of the problem area from multiple angles and distances. Include wide shots showing the roof’s overall condition and close-ups of the specific defect. Photograph any water damage or deterioration inside the home that resulted from the roof issue. Create a written description of when you first noticed the problem.
Step 2: Review your warranty documentation. Confirm the issue falls within covered items and that you haven’t voided the warranty through prohibited actions. Note the claim deadline, most warranties require claims within a specific timeframe after discovering damage.
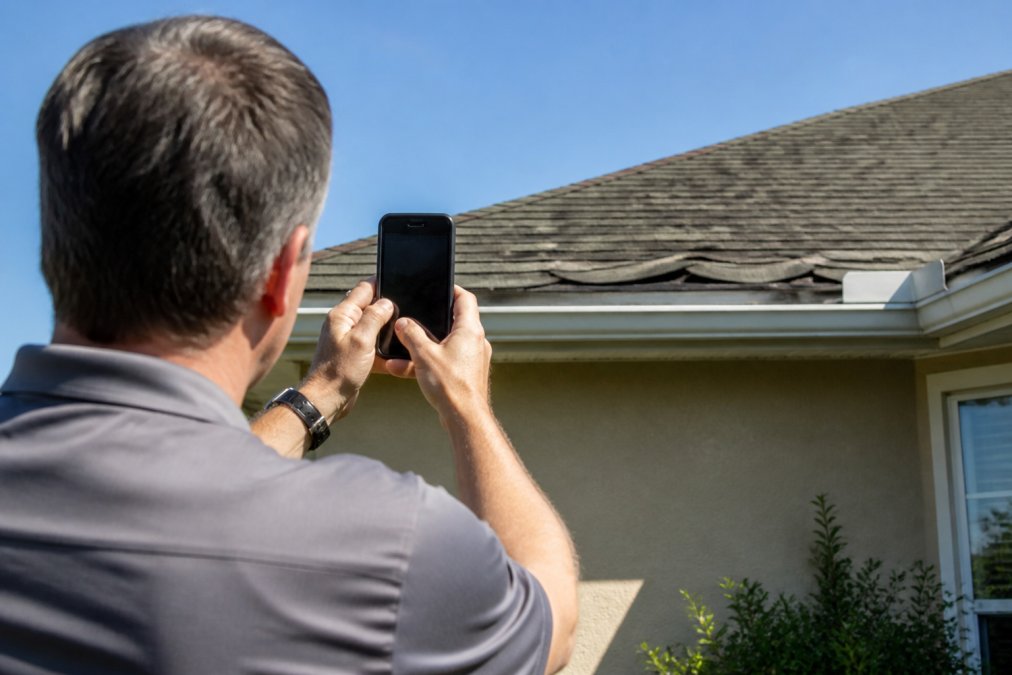
Step 3: Contact the appropriate party. For workmanship issues, contact the original roofing contractor. For material defects, contact the manufacturer. Have your warranty documents, invoice, and photographic evidence ready.
Step 4: Request an inspection. Both contractors and manufacturers typically require an inspection before processing claims. Ask about their inspection process and timeline. Clarify who bears the inspection cost, many warranties cover this at no charge.
Step 5: Provide complete documentation. Submit all supporting materials: photographs, written descriptions, maintenance records, proof of purchase, and proof that you’ve maintained the roof according to warranty requirements.
Step 6: Track your claim. Request a claim number and ask about the expected timeline for decision. Follow up regularly if you don’t hear back within the stated timeframe.
Step 7: Review the decision. When the claim is approved or denied, request a detailed explanation. Approved claims typically result in repair or replacement at no cost. Denied claims should include specific reasons.
The entire process typically takes 2-6 weeks from initial contact to claim decision.
Troubleshooting Denied Warranty Claims
If your warranty claim is denied, understanding the reason is the first step toward resolution. Common denial reasons include expired warranty periods, voided coverage due to maintenance failures, installation that didn’t meet specifications, or damage from excluded causes.
Request a detailed written explanation from the contractor or manufacturer. Review the denial letter against your warranty documents. Some denials result from misunderstandings or misinterpretations.
If the denial seems incorrect, gather additional evidence: maintenance records showing you kept gutters clear, photographic evidence of proper installation, expert inspection reports from a licensed roofing contractor confirming the issue is a material defect, and communication records showing you reported the issue within warranty timeframes.
Some warranty denials can be appealed. Contact the contractor or manufacturer and request an appeals process. Provide your additional evidence and explain why you believe the denial was incorrect.
If the contractor or manufacturer refuses to reconsider, consult with a local attorney who handles construction disputes. Document everything meticulously, dates, communications, photographs, and expert opinions, as this evidence will be crucial if you pursue legal action.
Consider involving your homeowner’s insurance company if the warranty issue resulted in water damage or other covered losses. Your insurance may cover the damage even if the warranty claim is denied.
At Rescue Roofing, we understand how frustrating denied claims can be. Our team assists homeowners throughout the warranty verification and claims process, helping ensure you receive the coverage you’re entitled to. We can also provide professional inspections and expert documentation that strengthens your position if you’re disputing a denial.
Protecting your roof investment requires understanding your warranty coverage and taking proactive steps to verify and maintain that protection. By gathering documentation, contacting contractors and manufacturers, and understanding the differences between workmanship and material warranties, you position yourself to file successful claims when problems arise. When disputes arise or you need expert guidance navigating the claims process, professional roofing contractors can provide invaluable assistance in ensuring your roof remains protected.
Frequently Asked Questions
How do I find out if my roof is still under warranty?
Start by locating your original roofing invoice and warranty certificate from your project close-out documents. Contact your original roofing contractor to confirm the coverage period and check whether your roof has a limited lifetime warranty or pro-rated coverage. Verify that the manufacturer warranty registration is current by checking the manufacturer's website or calling them directly with your roof's installation date and shingle model information.
What is the difference between a workmanship warranty and a manufacturer warranty?
A workmanship warranty covers installation errors and labor defects, typically lasting 5-10 years from your original roofing contractor. A manufacturer warranty covers material defects in the shingles or roofing system itself, often lasting 20-30 years or even a limited lifetime. Both must be honored, but they protect different aspects, if your roof fails due to poor installation, your workmanship warranty applies; if shingles fail prematurely due to manufacturing defects, the manufacturer guarantee covers it.
What voids a roof warranty?
Common warranty violations include poor maintenance, missing roof certifications, unpermitted repairs, and failure to follow manufacturer specifications during installation. Walking on the roof without proper precautions, ignoring ventilation requirements, using incompatible materials, or performing DIY repairs also voids coverage. Improper underlayment installation and neglecting to maintain gutters can void warranties as well. Always review your warranty documentation and maintain detailed maintenance records to protect your coverage.
How do I file a roof warranty claim?
Gather your warranty certificate, original invoice, and maintenance records. Document the damage with photographs and a visual inspection checklist. Contact your roofing contractor or manufacturer with your claim documentation and proof of purchase. Provide detailed information about the defect, when it appeared, and how it affects your roofing system. Follow up on claim status regularly and respond promptly to any requests for additional information or inspection scheduling.
This article was written using GrandRanker