



Table of Contents
- What Is a Professional Storm Damage Assessment?
- Signs of Wind and Hail Damage on Your Roof
- Why Professional Assessment Is Necessary After a Storm
- How to Document Roof Damage After a Storm
- Understanding the Roof Storm Damage Insurance Claim Process
- Step-by-Step: Getting Your Professional Assessment
- When to Call a Professional vs. DIY Inspection
- Common Mistakes to Avoid During Storm Damage Assessment
Last Updated: August 29, 2026
What Is a Professional Storm Damage Assessment?
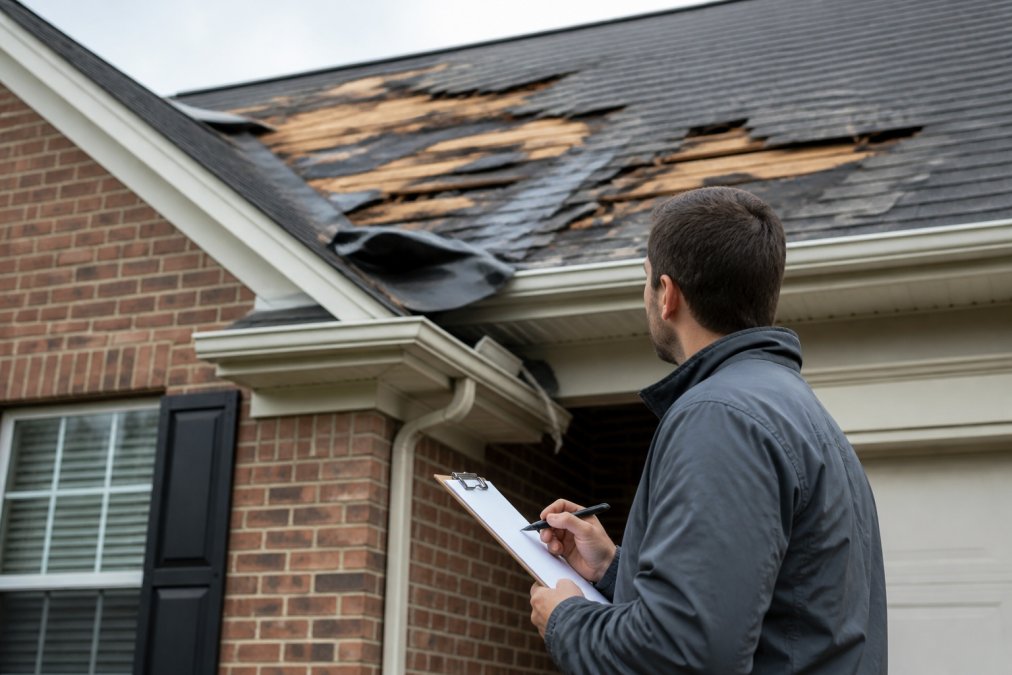
A professional storm damage assessment is a thorough, systematic evaluation of property damage caused by severe weather events, performed by a licensed and insured inspector who documents structural integrity issues, water intrusion risks, and insurance claim requirements. At Rescue Roofing, we conduct professional storm damage assessments that combine on-site inspection with aerial photography to capture the full scope of damage and create a claim-ready report that supports your insurance claim while identifying all necessary repairs.
A professional assessment typically includes roof inspection, gutter evaluation, foundation and siding review, and documentation suitable for insurance adjusters. The difference between a professional assessment and a DIY inspection is precision and credibility. Insurance adjusters receive dozens of claims weekly, and a claim backed by professional documentation gets faster approval and fewer denials than one based on homeowner photos and estimates.
Signs of Wind and Hail Damage on Your Roof
Wind and hail damage manifests in specific, identifiable ways that signal the need for immediate professional attention. Recognizing these signs early prevents minor damage from becoming catastrophic water intrusion or structural compromise.
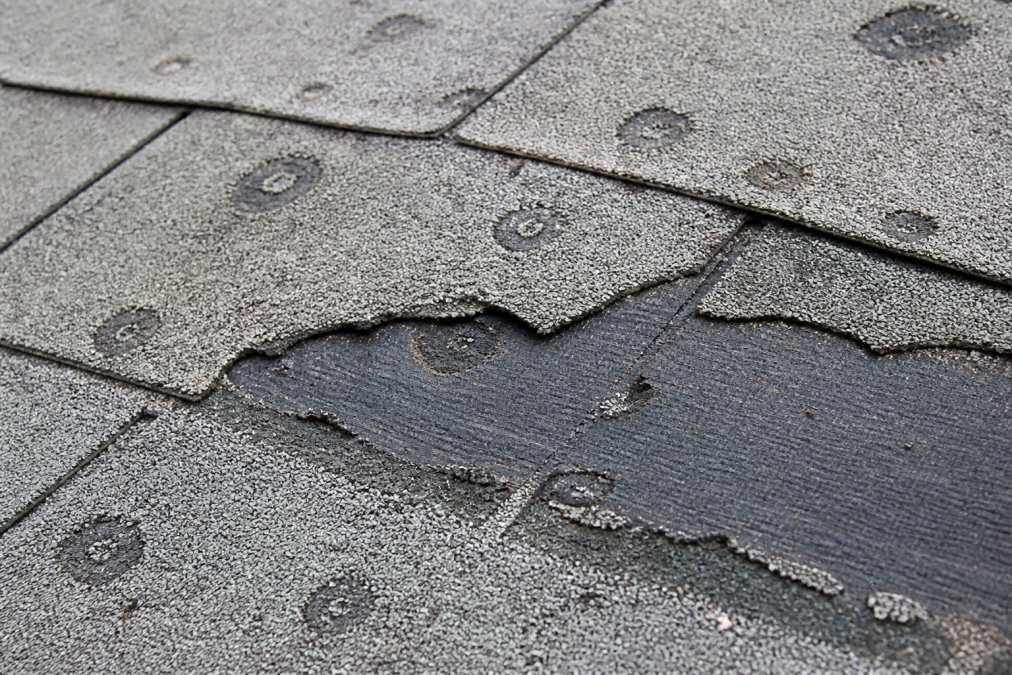
Hail damage appears as round or irregular dents in shingles, often with a dark spot in the center where the protective granule coating has been stripped away. Water intrusion often develops weeks or months later as exposed areas degrade. Wind damage typically shows as lifted, curled, or missing shingles, exposed nails, or torn flashing around roof penetrations like chimneys and vents. Water staining on ceilings or attic framing indicates that damage has already allowed water inside.
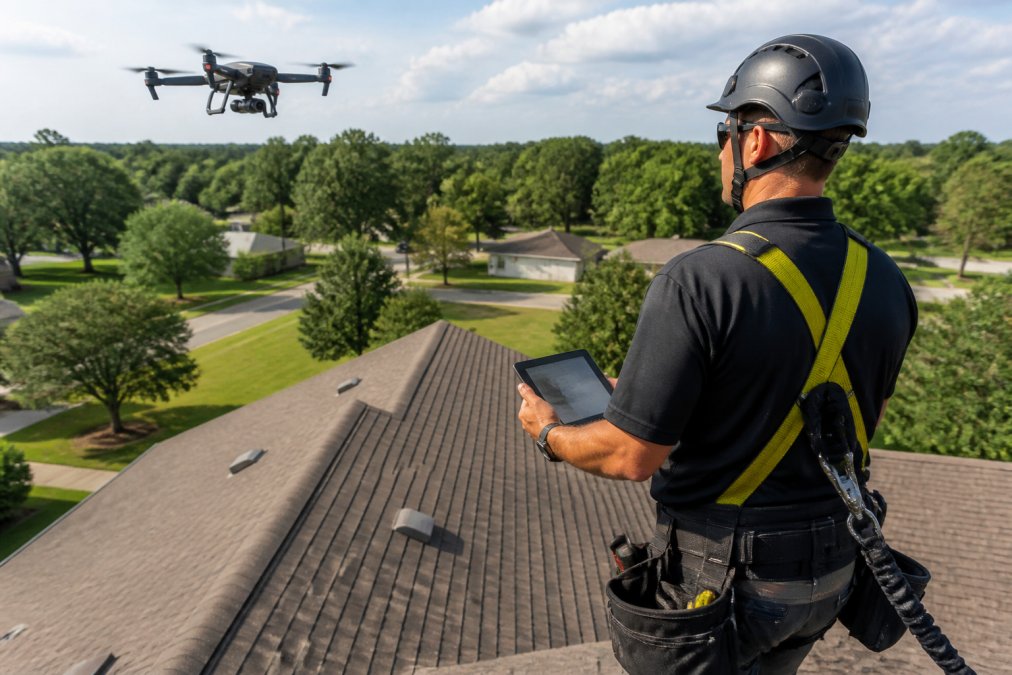
The challenge is that some damage isn’t visible from the ground. A professional storm damage assessment includes aerial inspection to catch damage on roof slopes you can’t safely access. Common mistakes homeowners make include assuming all damage is visible, waiting weeks before inspection, or relying solely on ground-level photos. A professional assessment documents damage systematically and captures angles that prove the extent of the problem.
Why Professional Assessment Is Necessary After a Storm
After a severe weather event, you need a professional storm damage assessment because it serves three critical functions: it protects your insurance claim, it prevents secondary damage, and it provides a baseline for contractors to estimate repairs accurately.
Insurance companies employ adjusters trained to minimize payouts. A professional assessment report shifts the burden of proof. The inspector has no financial interest in the claim outcome; their documentation carries weight because it’s third-party and detailed, reducing claim denial risk significantly.
Secondary damage escalates costs rapidly. A small roof leak ignored for two weeks can cause mold growth, structural rot, and electrical hazards (the EPA). A professional assessment identifies vulnerabilities before they compound and provides a prioritized list of what needs immediate attention versus what can be addressed later.
Contractors provide more accurate repair estimates when working from a professional assessment. Without it, they estimate based on their own site survey, which may differ from what the insurance adjuster approves for payment. A shared professional assessment aligns expectations between contractor, insurance company, and homeowner.
Timing is crucial. Most insurance policies require notification of damage within 30 days (iii.org). A professional assessment completed within 48 hours of the storm establishes the damage timeline, which strengthens your claim.
How to Document Roof Damage After a Storm
Documentation is the foundation of a successful insurance claim. Start by photographing damage from multiple angles and distances, including wide shots showing overall roof condition, medium shots focusing on specific areas, and close-ups showing granule loss or exposed underlayment. Include reference objects in photos so adjusters can assess damage scale.
Document the date and time of each photo. Write detailed notes describing location, type of damage, estimated size, and any water intrusion evidence. Create a damage inventory spreadsheet listing each area, its location, description, and photo reference numbers. Store all documentation in one location, a cloud storage account or physical file, organized for quick retrieval.
The critical mistake most homeowners make is incomplete documentation. They photograph visible roof damage but miss gutter damage, siding damage, or foundation issues caused by the same storm. A professional storm damage assessment catches these related damages, ensuring your claim covers the full scope of the event.
Understanding the Roof Storm Damage Insurance Claim Process
The roof storm damage insurance claim process involves notification, inspection, documentation review, adjuster assessment, and claim approval or denial. The process begins when you notify your insurance company of the damage. Most policies require notification within 30 days. When you call, provide the storm date, basic damage description, and your policy number.
Before the adjuster arrives, complete your own documentation and provide it proactively to your insurance company. The adjuster’s inspection typically takes 30 minutes to two hours, depending on damage complexity. They assess whether damage is storm-related (covered) or pre-existing (not covered) and estimate repair costs. Professional assessment documentation proves invaluable here, as the adjuster’s estimate will likely align with it rather than contradicting it.
After inspection, the insurance company reviews the adjuster’s report and either approves the claim, requests additional documentation, or denies it. Denials typically cite insufficient evidence of storm causation or pre-existing damage. Your professional storm damage assessment becomes critical evidence that counters denial reasoning.
Common claim denial triggers include delayed reporting, incomplete documentation, inconsistent damage descriptions, or lack of professional validation. A professional assessment prevents most of these issues. If your claim is denied, you have the right to appeal, and your professional assessment becomes your primary evidence.
Step-by-Step: Getting Your Professional Assessment
Getting a professional storm damage assessment requires advance planning, preparation, and coordination with your insurance company.
Step 1: Schedule an Inspection Within 48 Hours
Contact a licensed and insured roofing contractor immediately after the storm. The first 48 hours are critical, damage is fresh and your claim timeline begins immediately. When you call, describe the storm and general damage observed. Confirm that the contractor is licensed, insured, and experienced with insurance claim documentation. Ask whether they provide aerial inspection, which captures roof damage invisible from the ground. verify insurance claim paperwork.
Prepare your property for the inspection by clearing debris if safe to do so and ensuring the inspector has safe access to the roof. Have your insurance policy information available.
Step 2: Prepare Documentation and Photos
Before the inspector arrives, gather your own documentation. Photograph visible damage from ground level, write down the storm date and time, and list any emergency repairs already completed with dates and costs. Organize this documentation in a folder or digital file with your insurance policy number and claim number.
Prepare a list of questions for the inspector: What damage did they identify? What repairs are necessary versus optional? What’s the estimated timeline for repairs? Understanding these details helps you make informed decisions when repair bids arrive.
Step 3: Work With Your Assessor and Insurance Adjuster
Once the professional assessment is complete, review it carefully and ensure it matches your observations. Provide a copy to your insurance company proactively. When the insurance adjuster inspects your property, have the professional assessment available. If findings differ significantly, point out discrepancies professionally and document your objections in writing.
Coordinate with your contractor about next steps. Once the insurance company approves your claim, your contractor can begin repairs using the professional assessment as the specification for repair work.
Step 4: Review the Claim-Ready Report
The professional assessment should produce a claim-ready report formatted for insurance company review, including photographs, damage descriptions, repair estimates, and professional recommendations. Review this report before submitting it to your insurance company.
The report should clearly identify each area of damage, describe it in specific terms, include reference photos, and provide professional opinion on causation. Check that the report includes all damage areas you observed. Ensure the report is formatted professionally and includes the contractor’s contact information, as insurance adjusters are more likely to trust reports from established, licensed contractors.
When to Call a Professional vs. DIY Inspection
Call a professional if the damage is extensive, if you’ve already filed an insurance claim, if the roof is steep or high, or if you’re uncomfortable working at heights. Professional assessments are non-negotiable if you’re pursuing an insurance claim, as insurers rarely approve claims based solely on homeowner documentation.
Safety is the primary concern with DIY inspection. Falls from roofs cause thousands of injuries annually (the CDC). A professional assessment eliminates this risk while producing documentation that holds more weight with insurance companies. The hybrid approach works well: conduct a ground-level visual assessment and photograph what you can see safely, then hire a professional for the comprehensive assessment.
Common Mistakes to Avoid During Storm Damage Assessment
Waiting too long to report damage is the most common mistake. Insurance policies require notification within 30 days; waiting longer signals that you may be claiming pre-existing damage as storm-related. Schedule your professional assessment within 48 hours of the storm.
Incomplete documentation is the second major mistake. Photographing only visible roof damage while missing gutter, siding, or foundation damage caused by the same storm means your claim covers only part of the damage. A professional storm damage assessment catches related damages comprehensively.
Attempting repairs before insurance approval can void coverage. Wait for adjuster approval before starting major repairs. Emergency repairs (tarping to prevent water intrusion) are acceptable; just document them with photos and receipts.
Misunderstanding your policy coverage creates disputes later. Review your policy before filing a claim to understand what’s covered, what deductible applies, and what documentation the insurer requires. Not coordinating between your contractor and insurance company causes delays. Ensure your contractor has the claim number and adjuster contact information.
Storm damage assessment requires speed, documentation, and professional expertise. The difference between a successful insurance claim and a denied one often comes down to the quality of your documentation and the credibility of your professional assessment. Rescue Roofing provides comprehensive professional assessments that document damage systematically, support insurance claims, and identify all necessary repairs. We handle communication with insurance adjusters, provide claim-ready reports, and ensure your property is fully restored. Contact us within 48 hours of a storm to schedule your professional assessment and protect your claim.
Frequently Asked Questions
How long after a storm should I get a professional storm damage assessment?
Contact a professional assessor within 24-48 hours of storm damage. Prompt inspection prevents secondary damage like water intrusion and helps establish the timeline for your insurance claim. Many insurance companies expect assessment documentation within a specific window, so early action protects both your property and your claim eligibility.
What should I document when photographing roof damage for my insurance claim?
Take photos from multiple angles showing the overall damage pattern, close-ups of individual damaged areas, and wide shots showing the roof's context on your home. Include date stamps on photos and document the condition of gutters, fascia, and the building envelope. Create a written list of all visible damage, note the weather event details, and keep receipts for any emergency tarping or temporary repairs. This documentation creates a claim-ready report that supports your loss adjustment.
What is the difference between a professional storm damage assessment and a general roof inspection?
A professional storm damage assessment focuses specifically on identifying weather-related damage like hail impact, wind damage, and water intrusion caused by a specific severe weather event. It documents hazard identification and damage mitigation needs for insurance purposes. A general roof inspection evaluates overall roof condition, structural integrity, and maintenance needs without the insurance claim focus. Storm assessments produce claim-ready reports; inspections provide maintenance recommendations.
How can I prevent insurance claim denial after a storm?
Document damage immediately with detailed photos and written descriptions before any cleanup or repairs. Report the claim promptly and provide your assessor's systematic evaluation and claim-ready report to your insurance company. Avoid making repairs before the adjuster inspects, and ensure all documentation matches the assessment findings. Work with licensed and insured professionals who understand insurance requirements and can communicate directly with adjusters during the loss adjustment process.
This article was written using GrandRanker